WEEK 16 (06/02/23 - 12/02/23
MAJOR_____PROJECT
WEEK 17 (13/02/23 - 19/02/23)
While Illustration is my primary practice, I refuse to be pigeonholed to one specific medium, so as a start to this project, I created a mind map exploring different creative mediums. Ever since I first heard about the Final Major Project, I wanted to create an interactive installation with a focus on either my brand, ONE BAD DAY, or playing with light and how different hues affect mood and behaviour. However, after talking through this idea with my tutor, Leigh, he explained that this would not be possible as the exhibition space would not be large enough to fit installations, so I had to focus my project on something else instead.
WEEK 18 (20/02/23 - 26/02/23)
Leigh suggested going to Forbidden Planet to look at examples of action figures.
I found action figures made by different manufacturing companies to compare how each figure was packaged against one another.
I found that each figure was packaged with the same basic elements: cardboard backing and transparent moulded plastic.
WEEK 19 (27/02/23 - 05/03/23)
Adjust screen size accordingly to fit content
WEEK 20 (06/03/23 - 12/03/23)
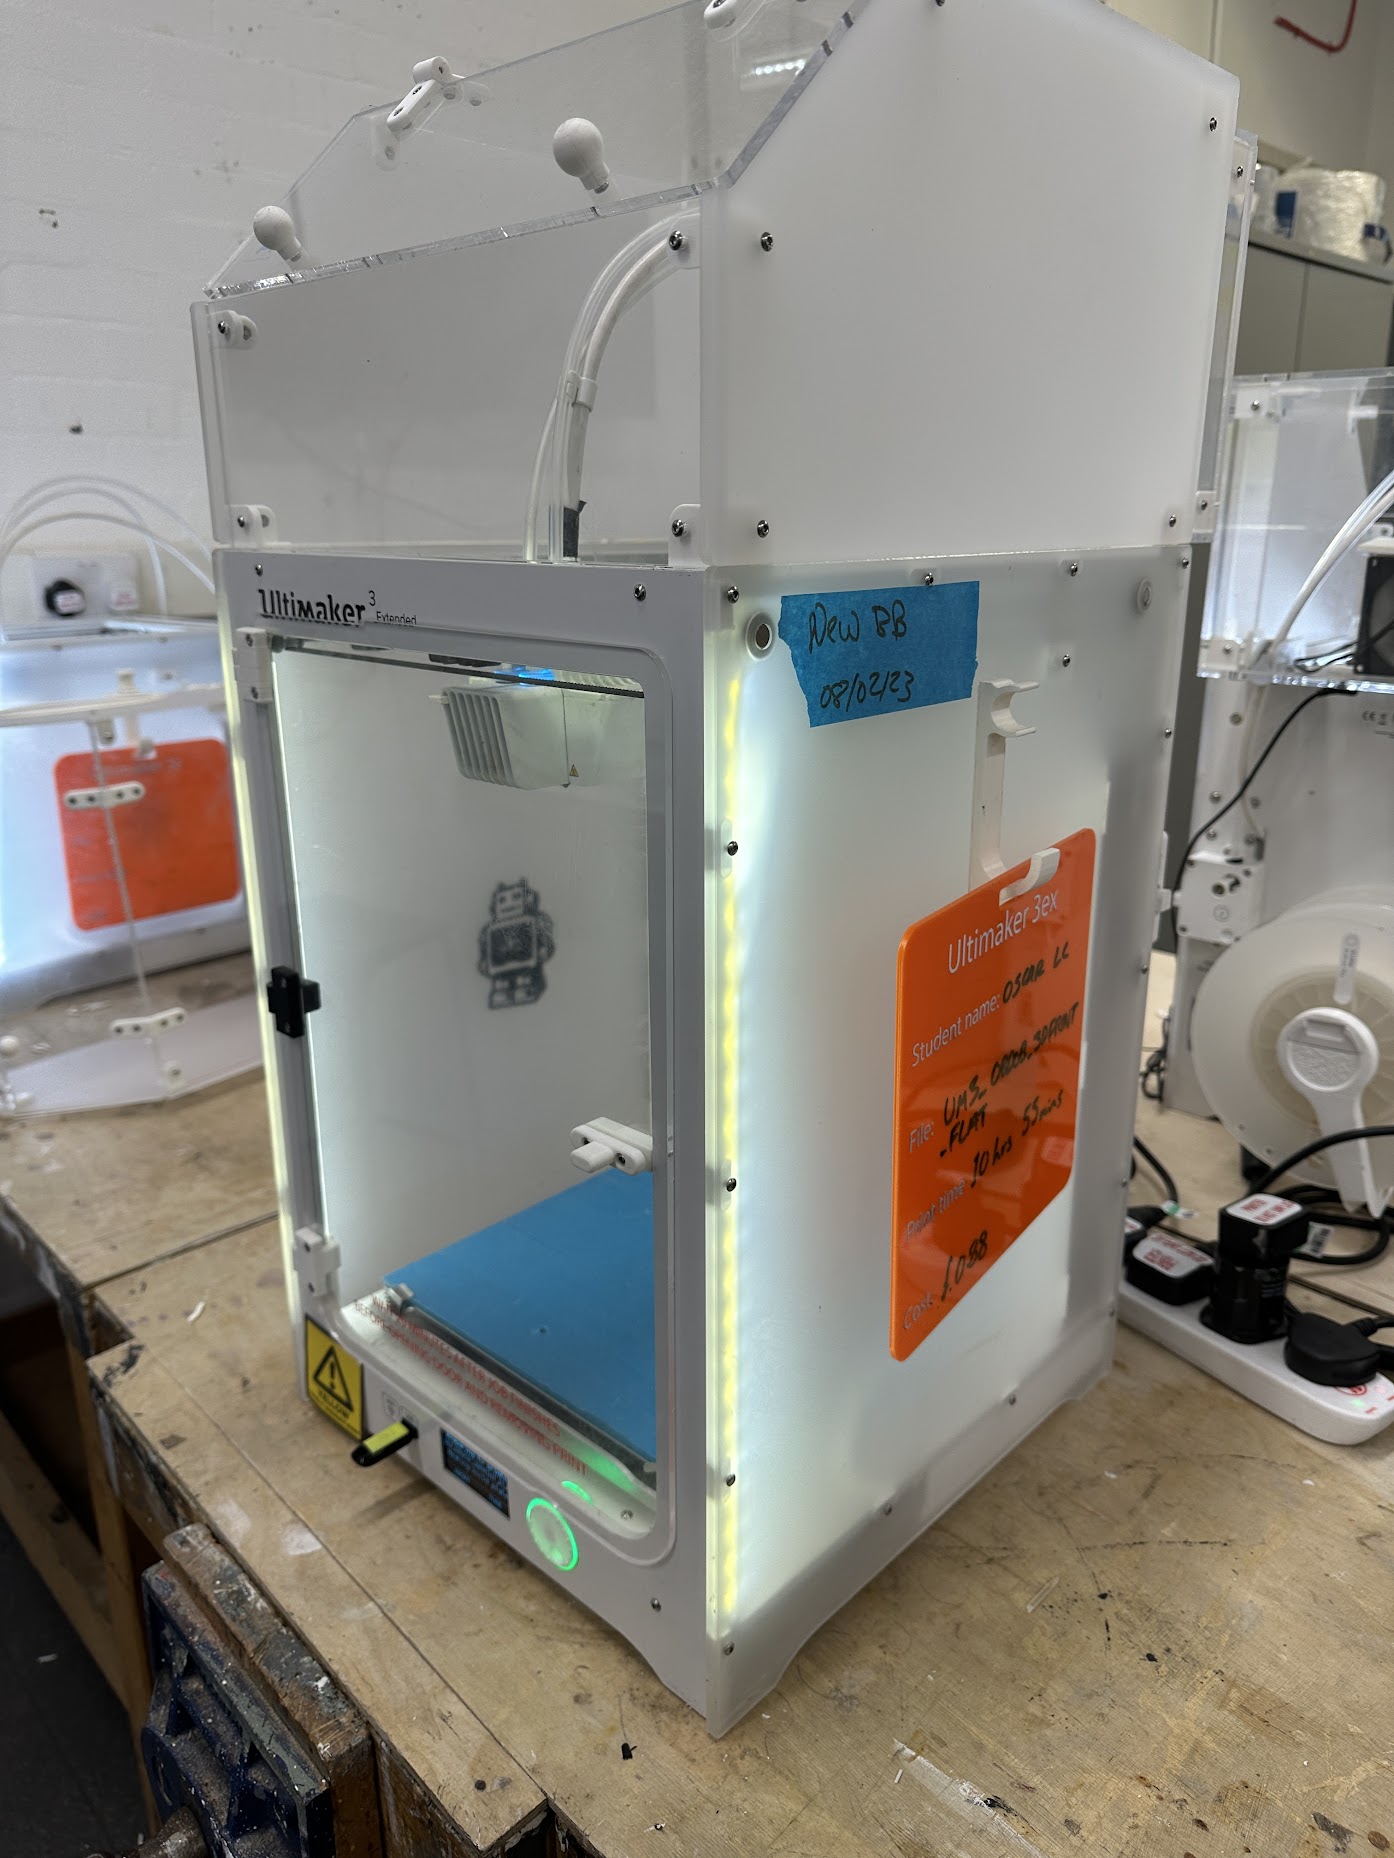
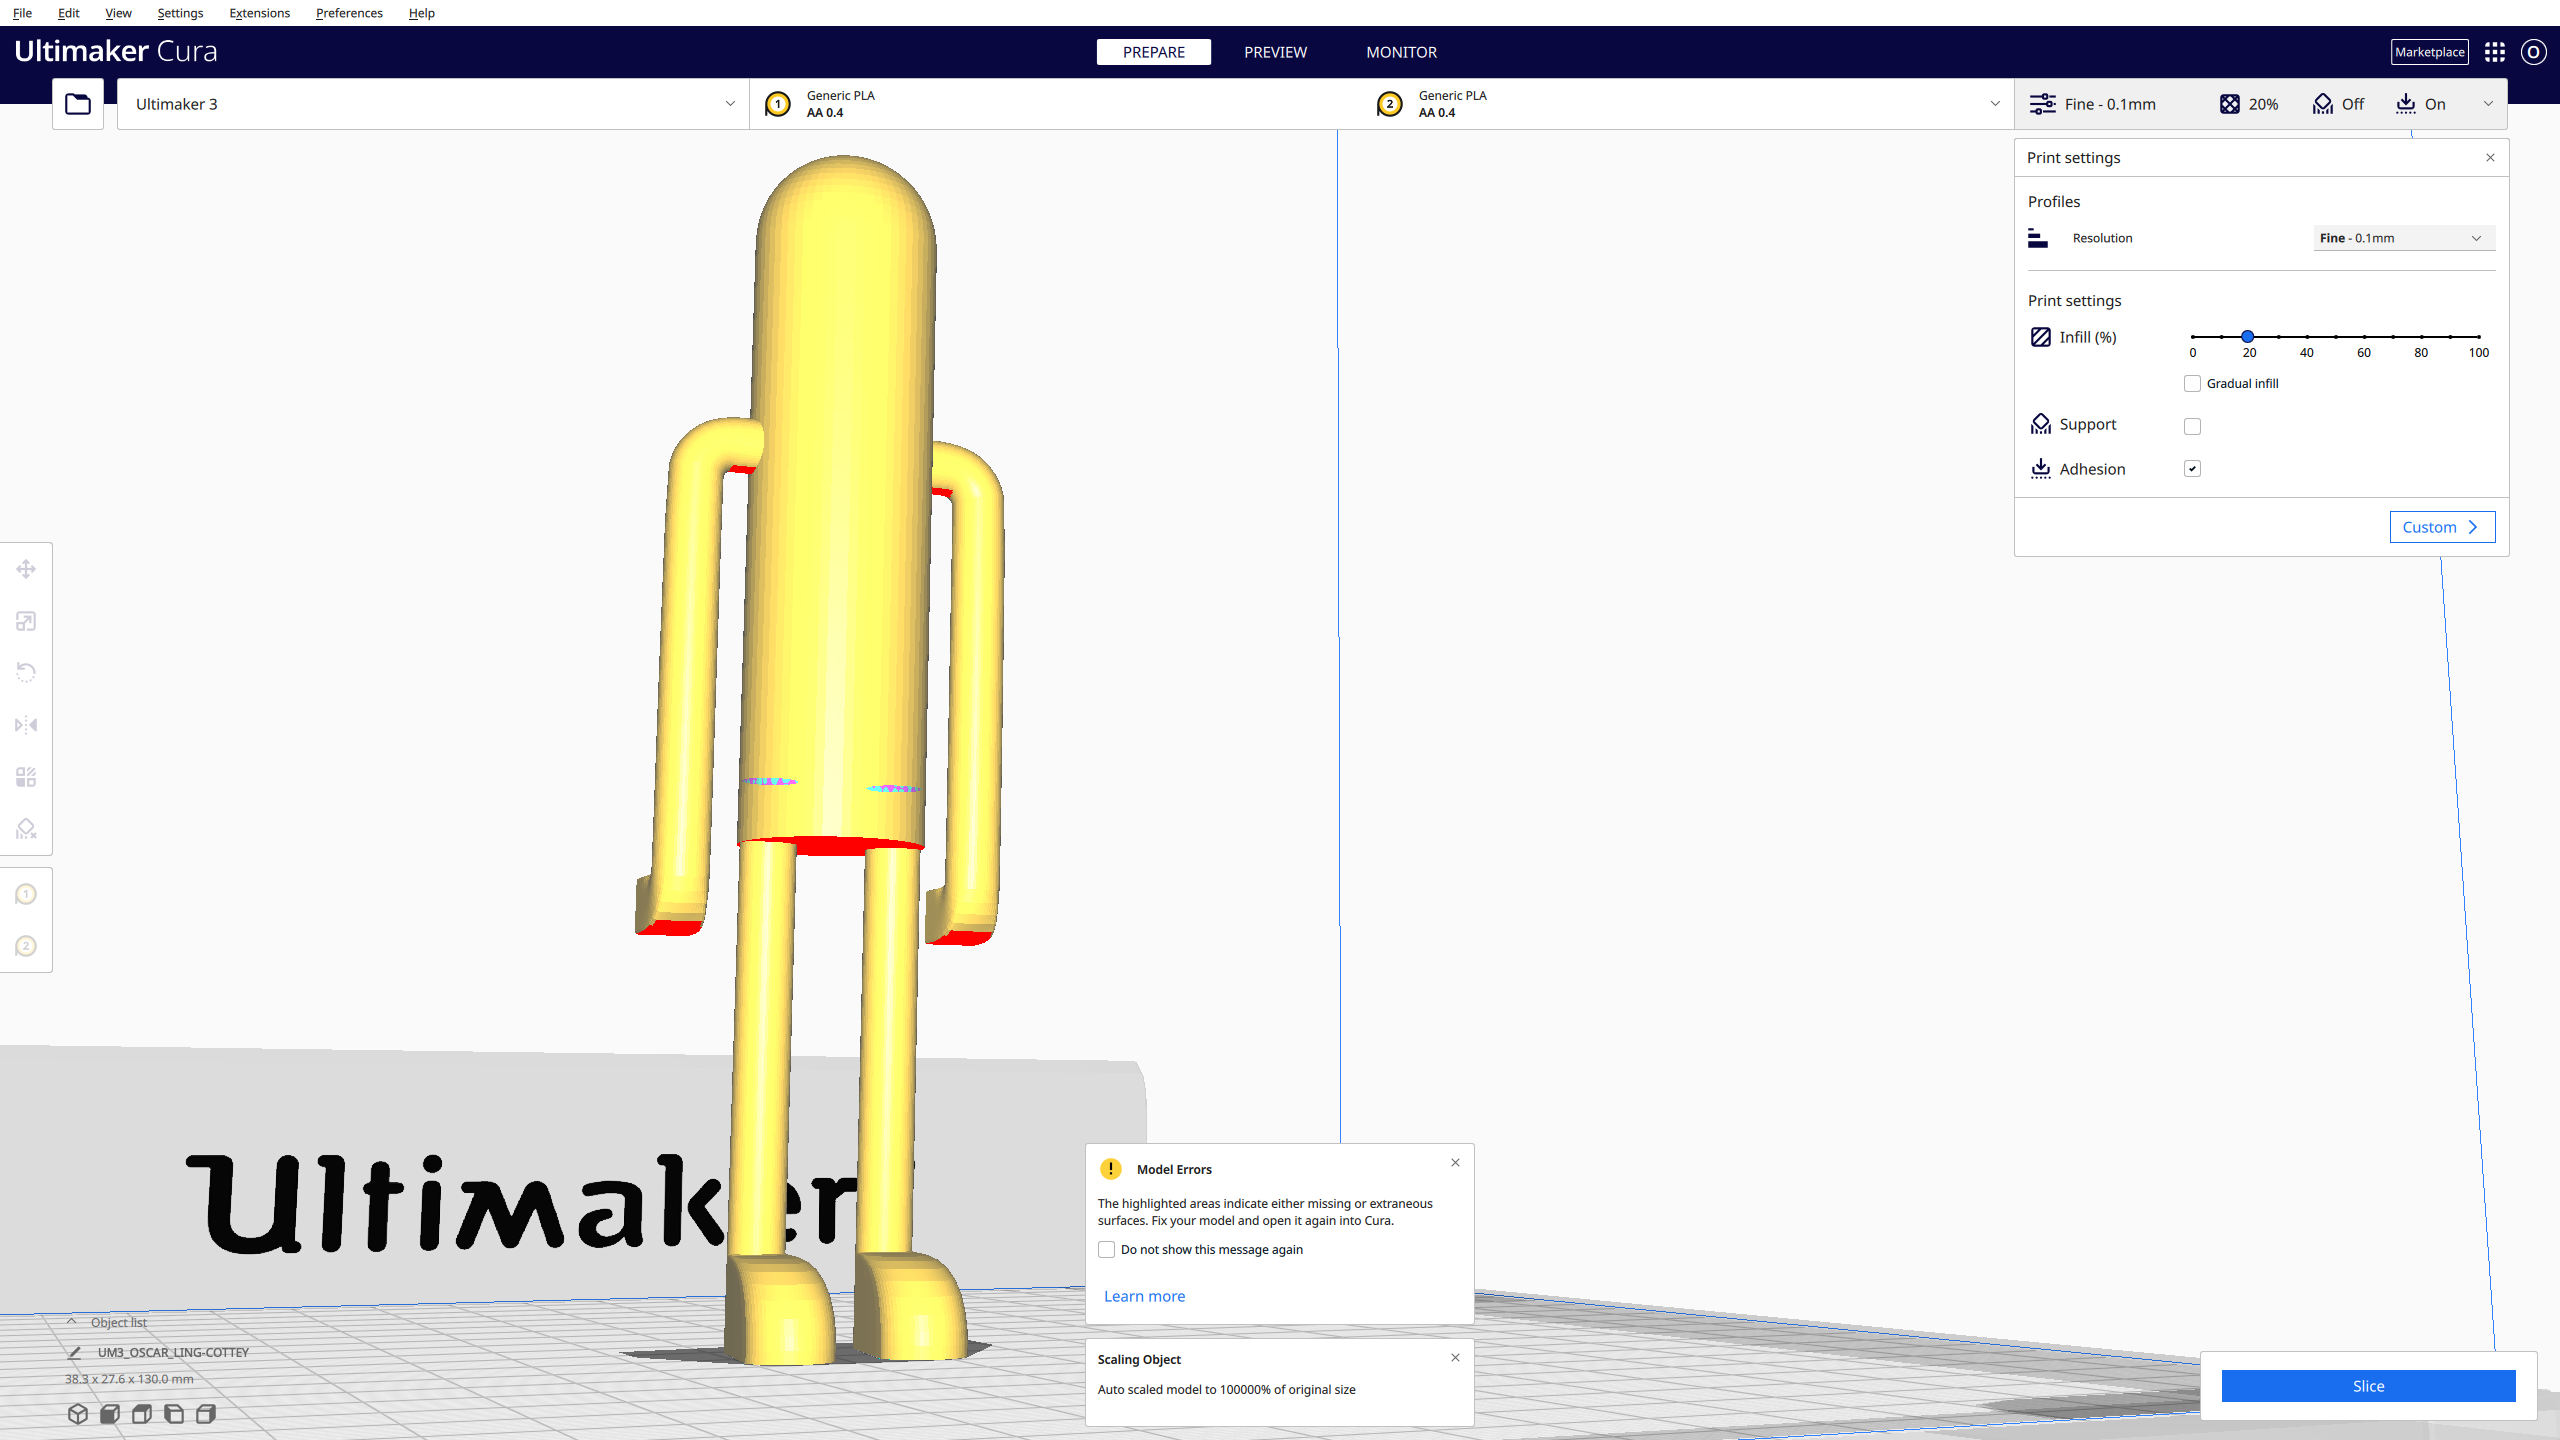
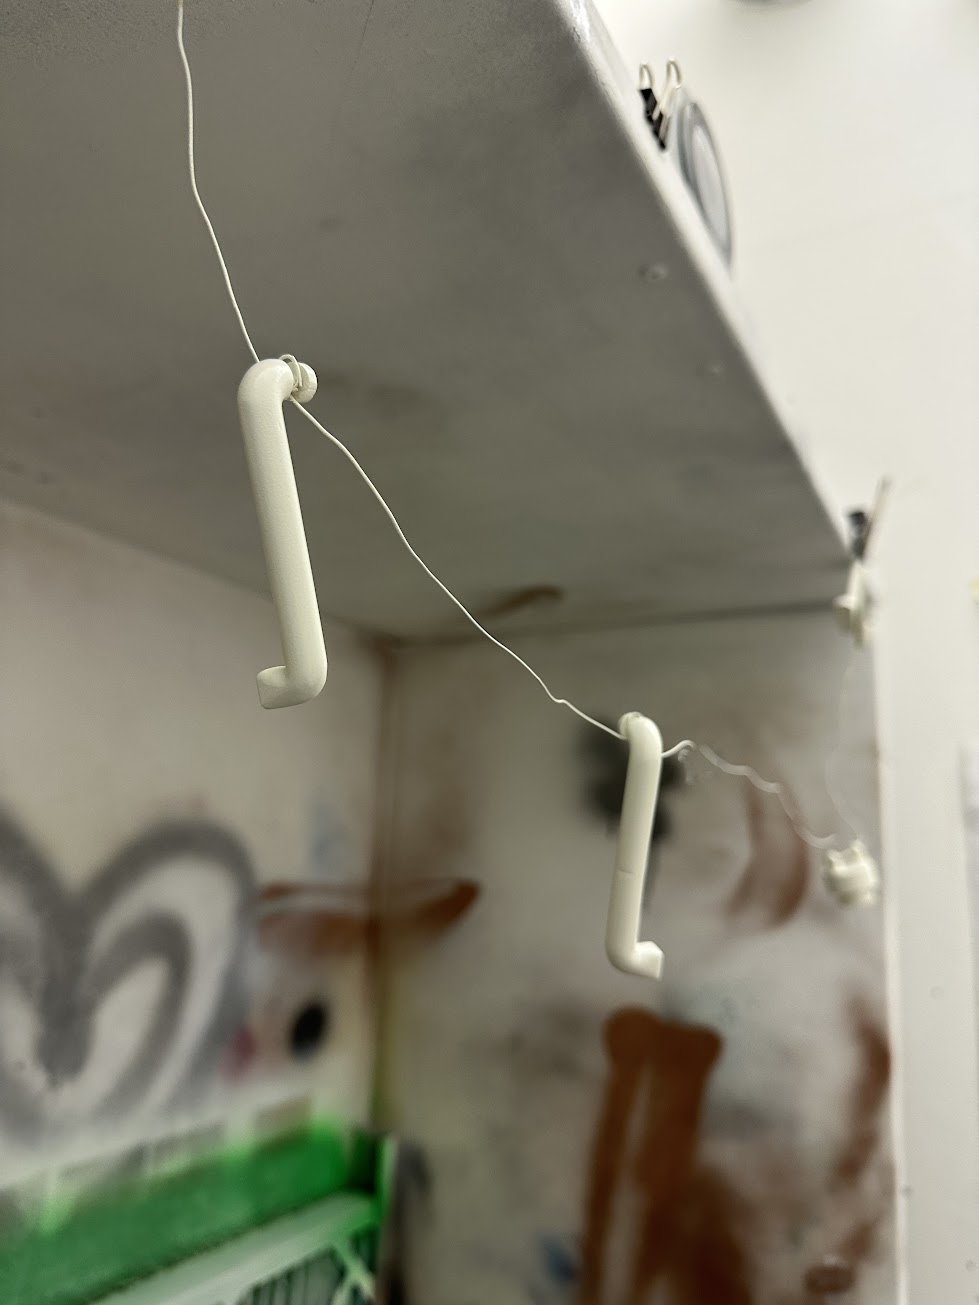
Once my new digital model was complete, I imported it into Cura, making sure there were no errors this time, and then started the print. The estimated print time was almost 11 hours, so I had to come back to the 3D workshop the next day to pick it up. Unfortunately, on my return one of the workshop technicians, Roisin, informed me that the back of the model had not printed as expected as the support structure did not provide enough structural stability for the primary print nozzle to lay the white resin accurately.
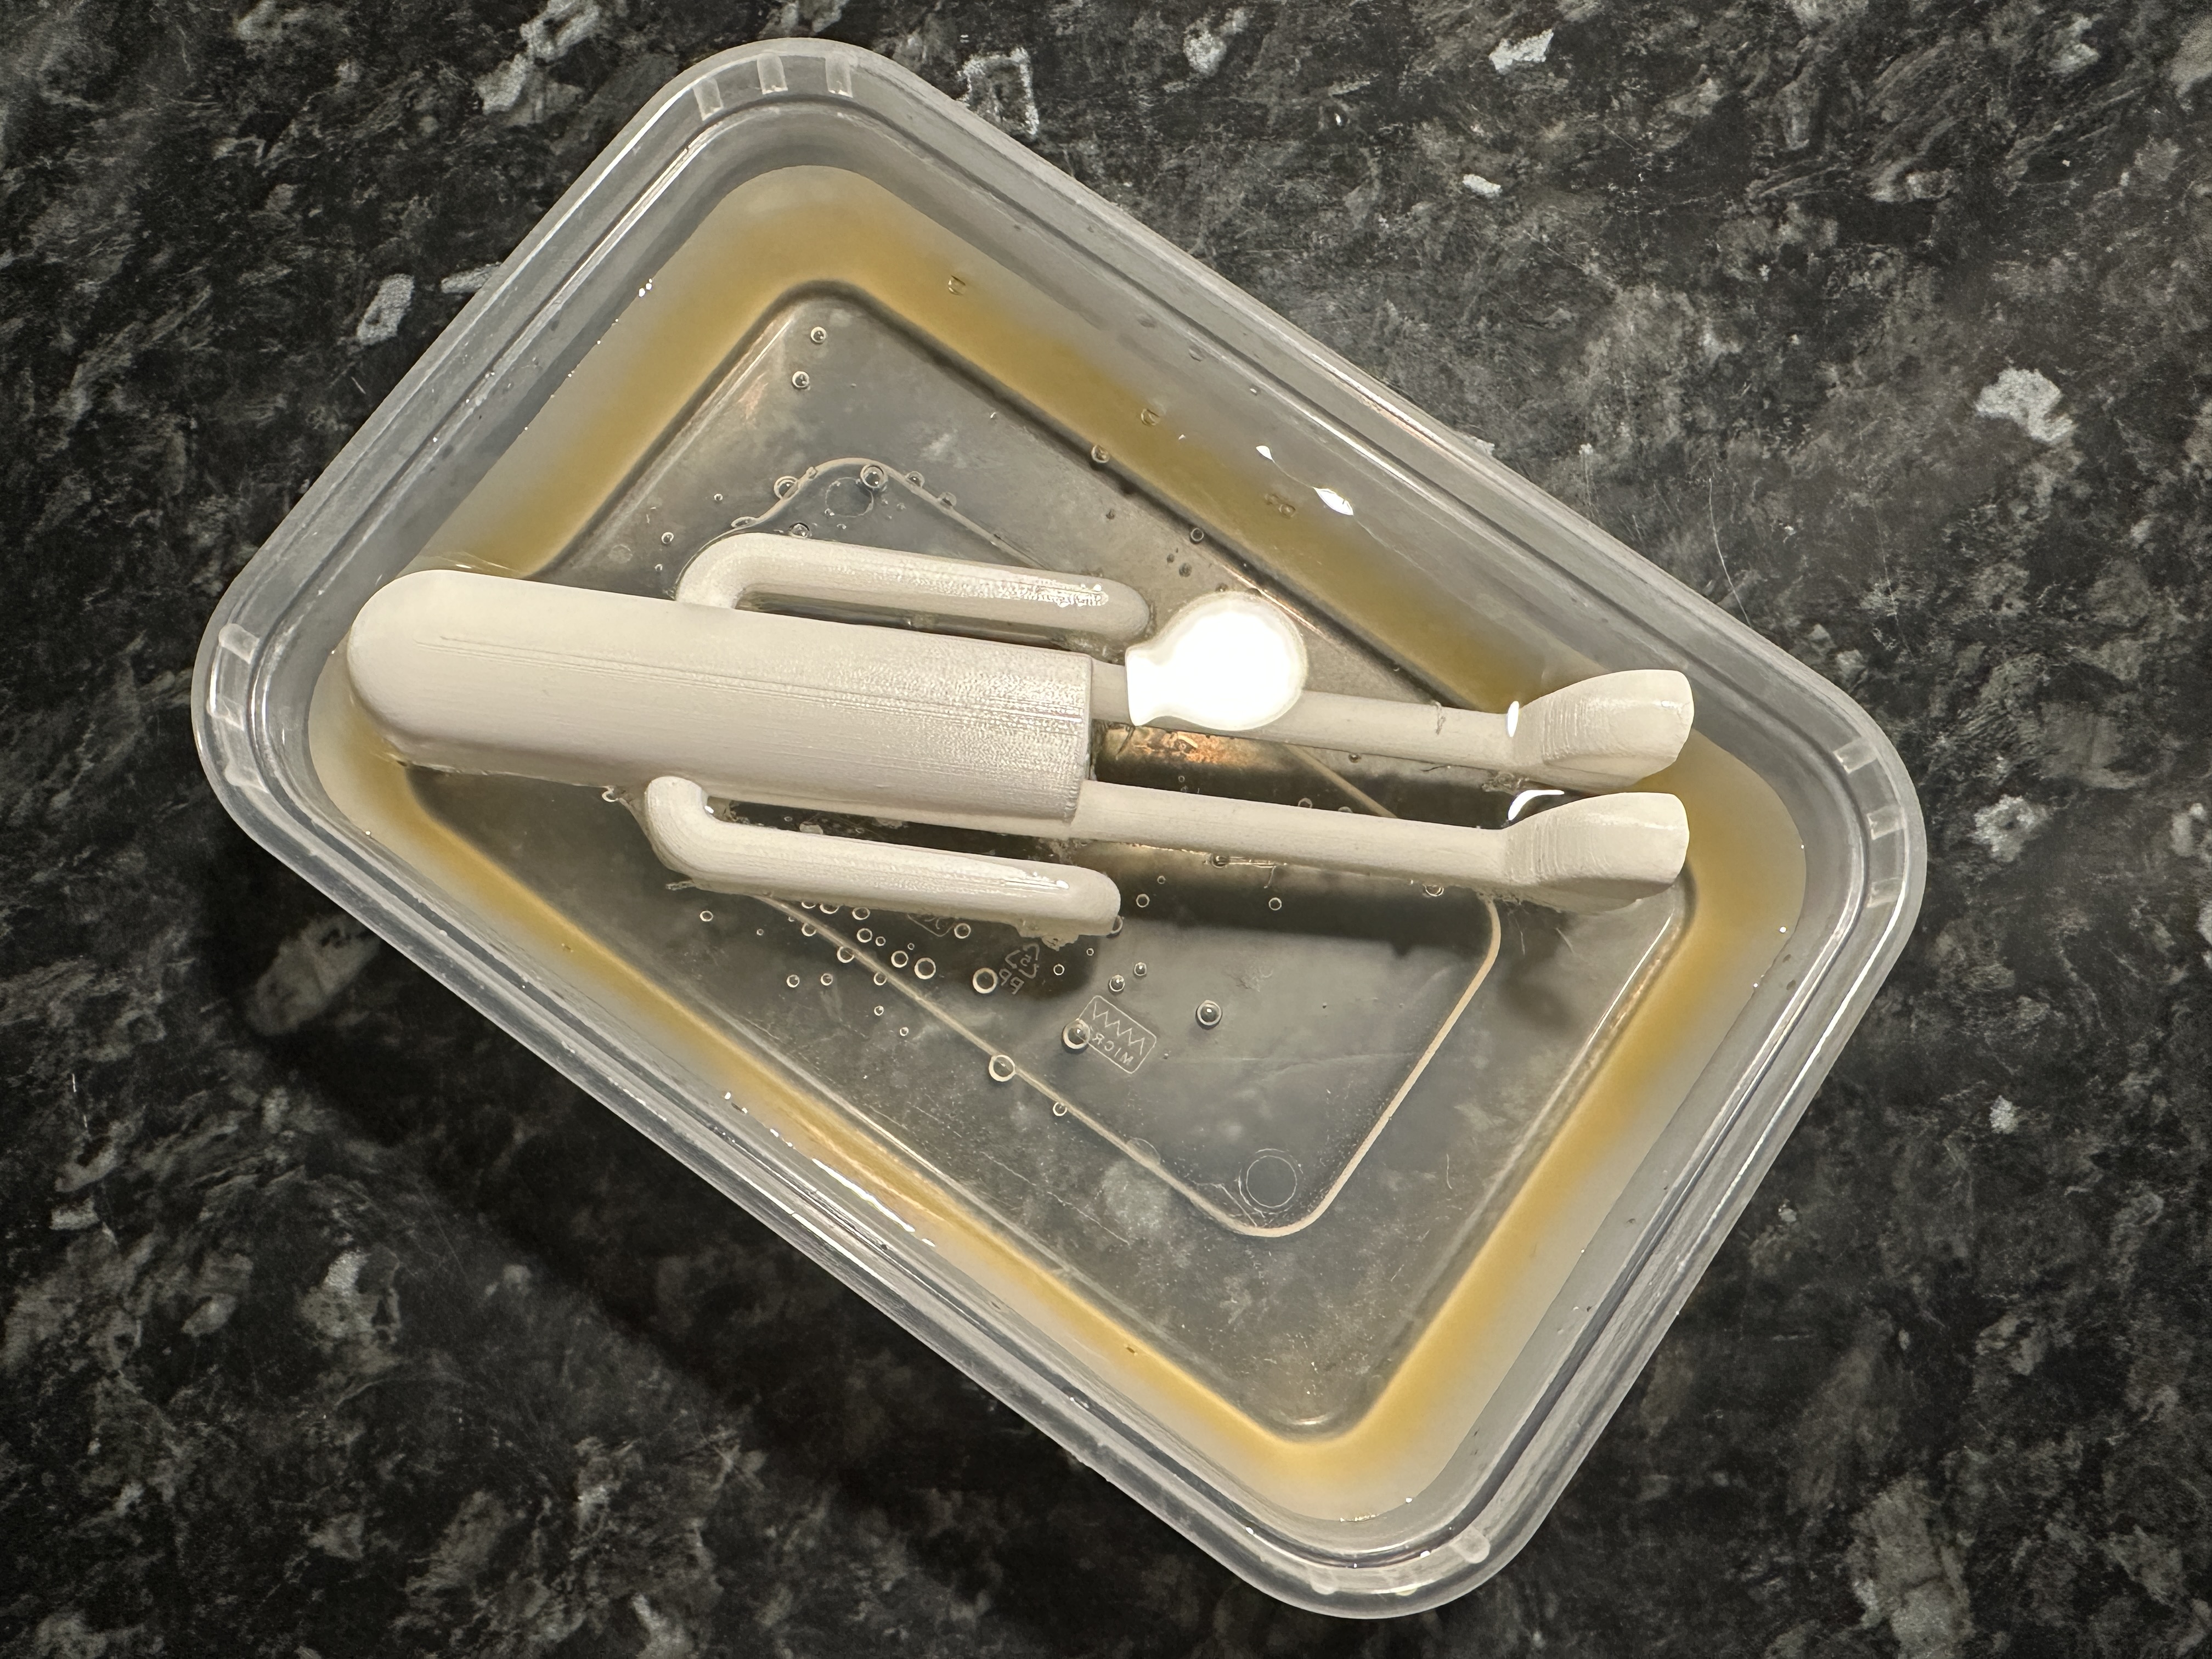
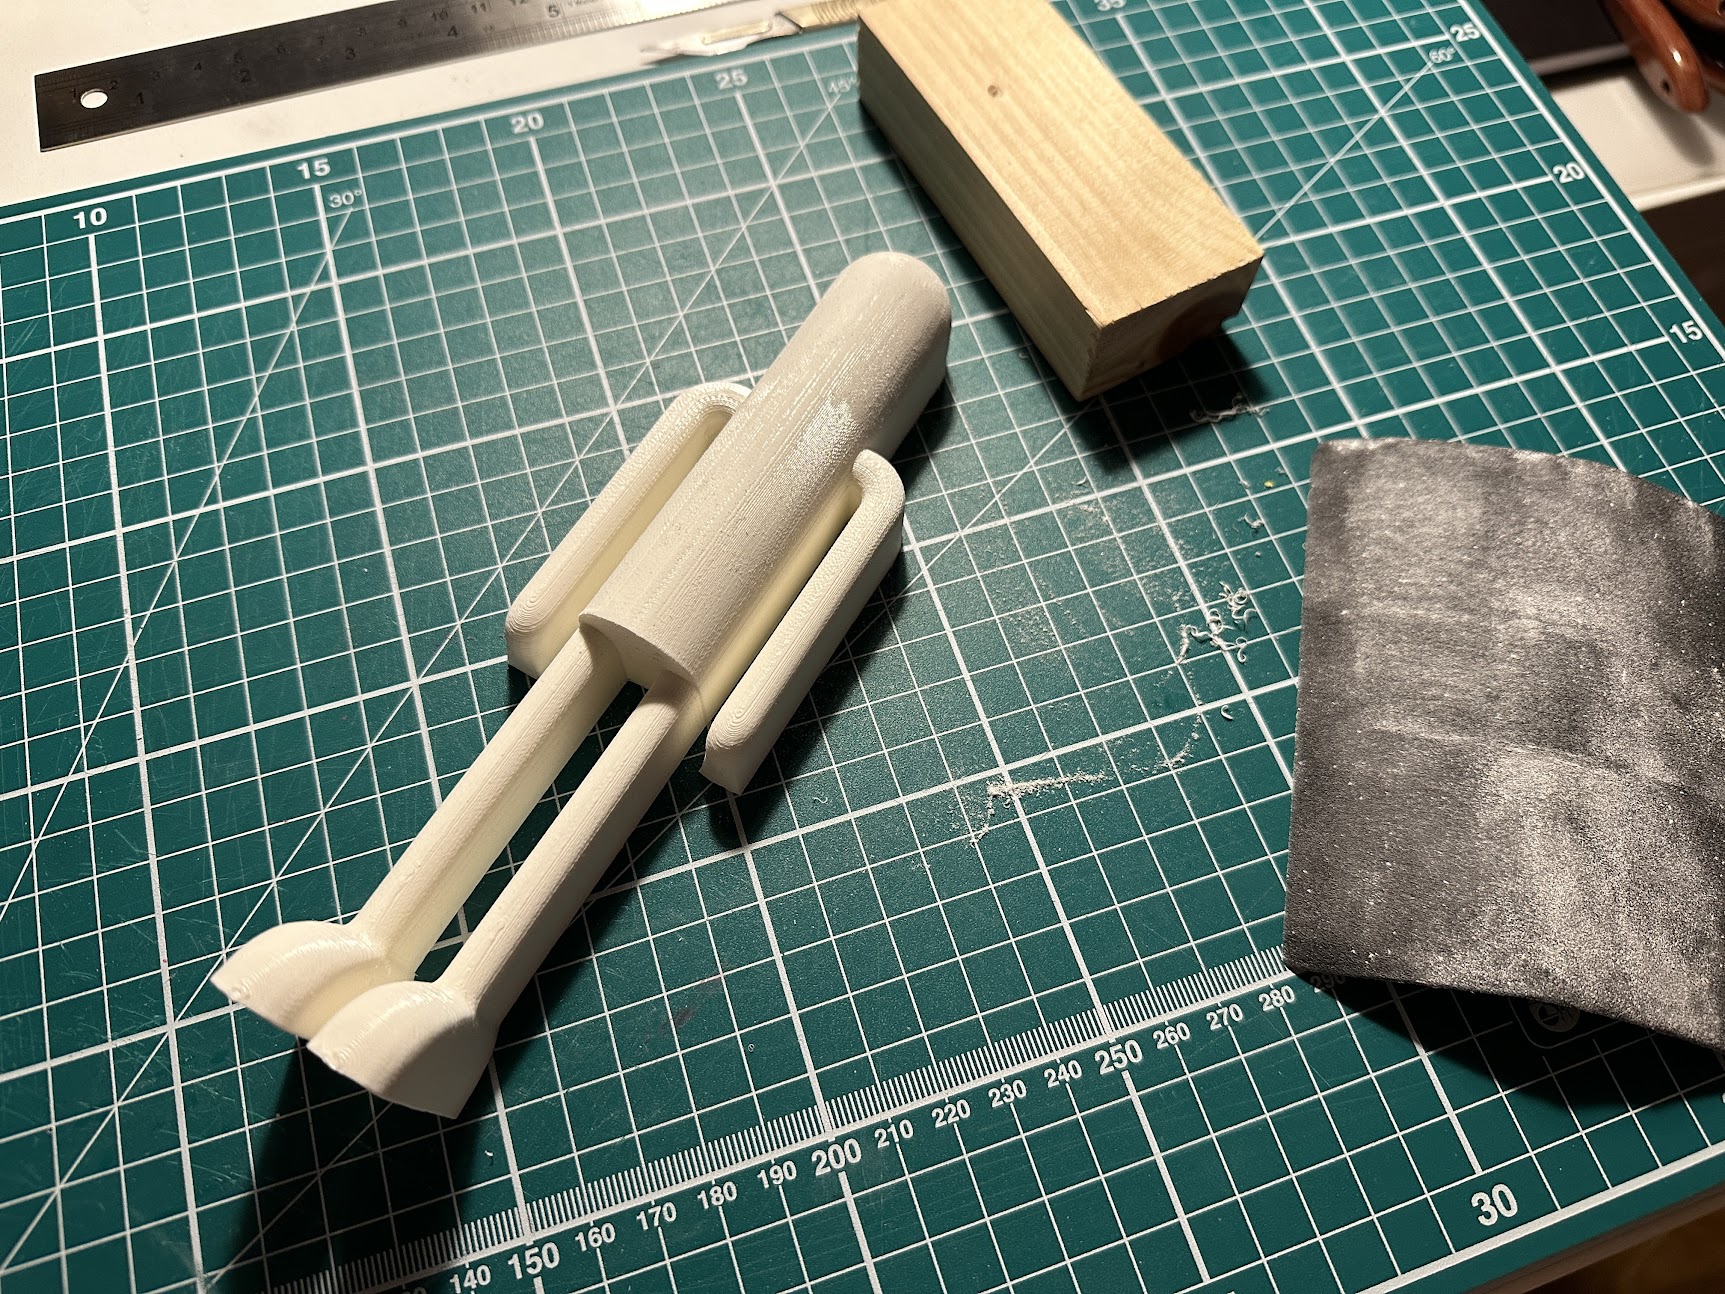
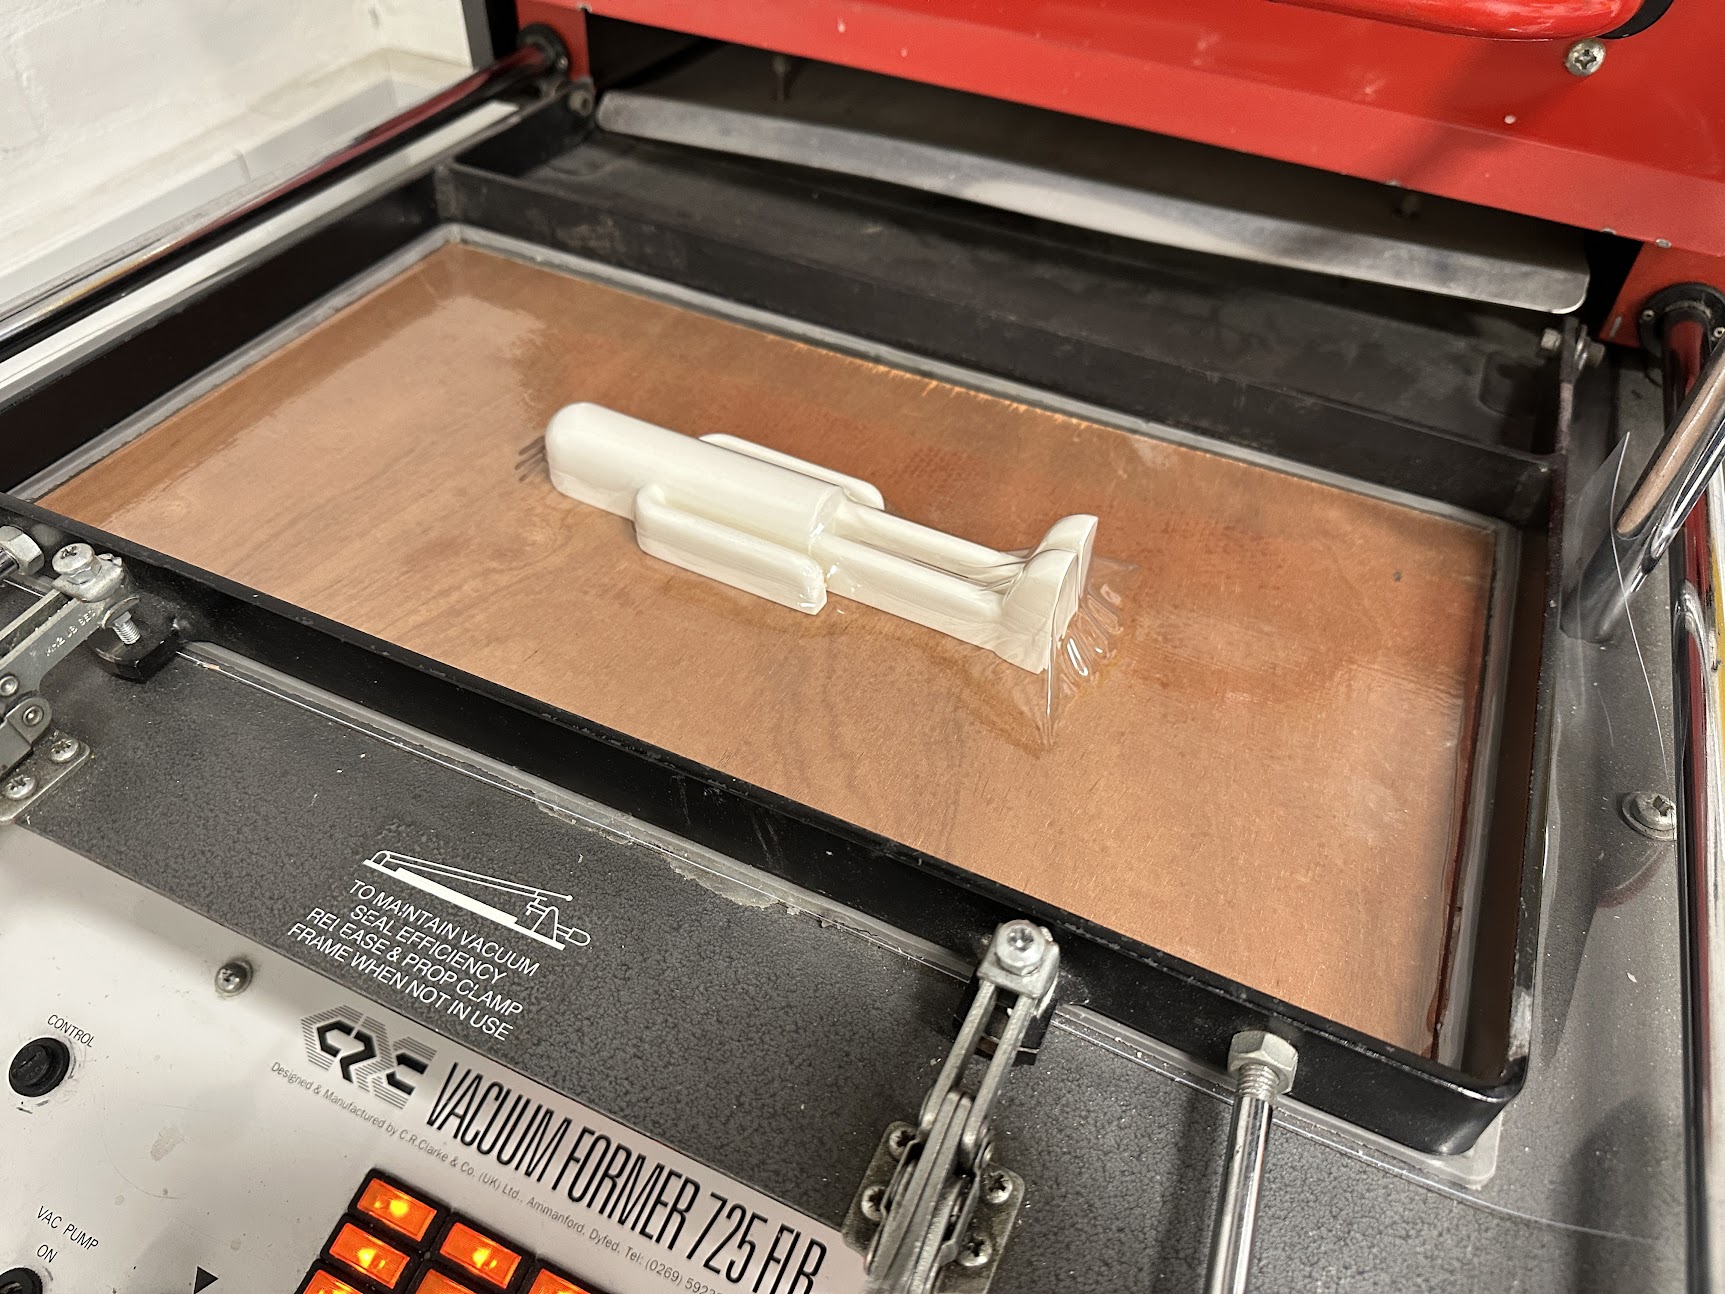
After printing my first 3D model, I tried my hand at thermoplastic forming to create the transparent plastic mould that would fit over my action figure.
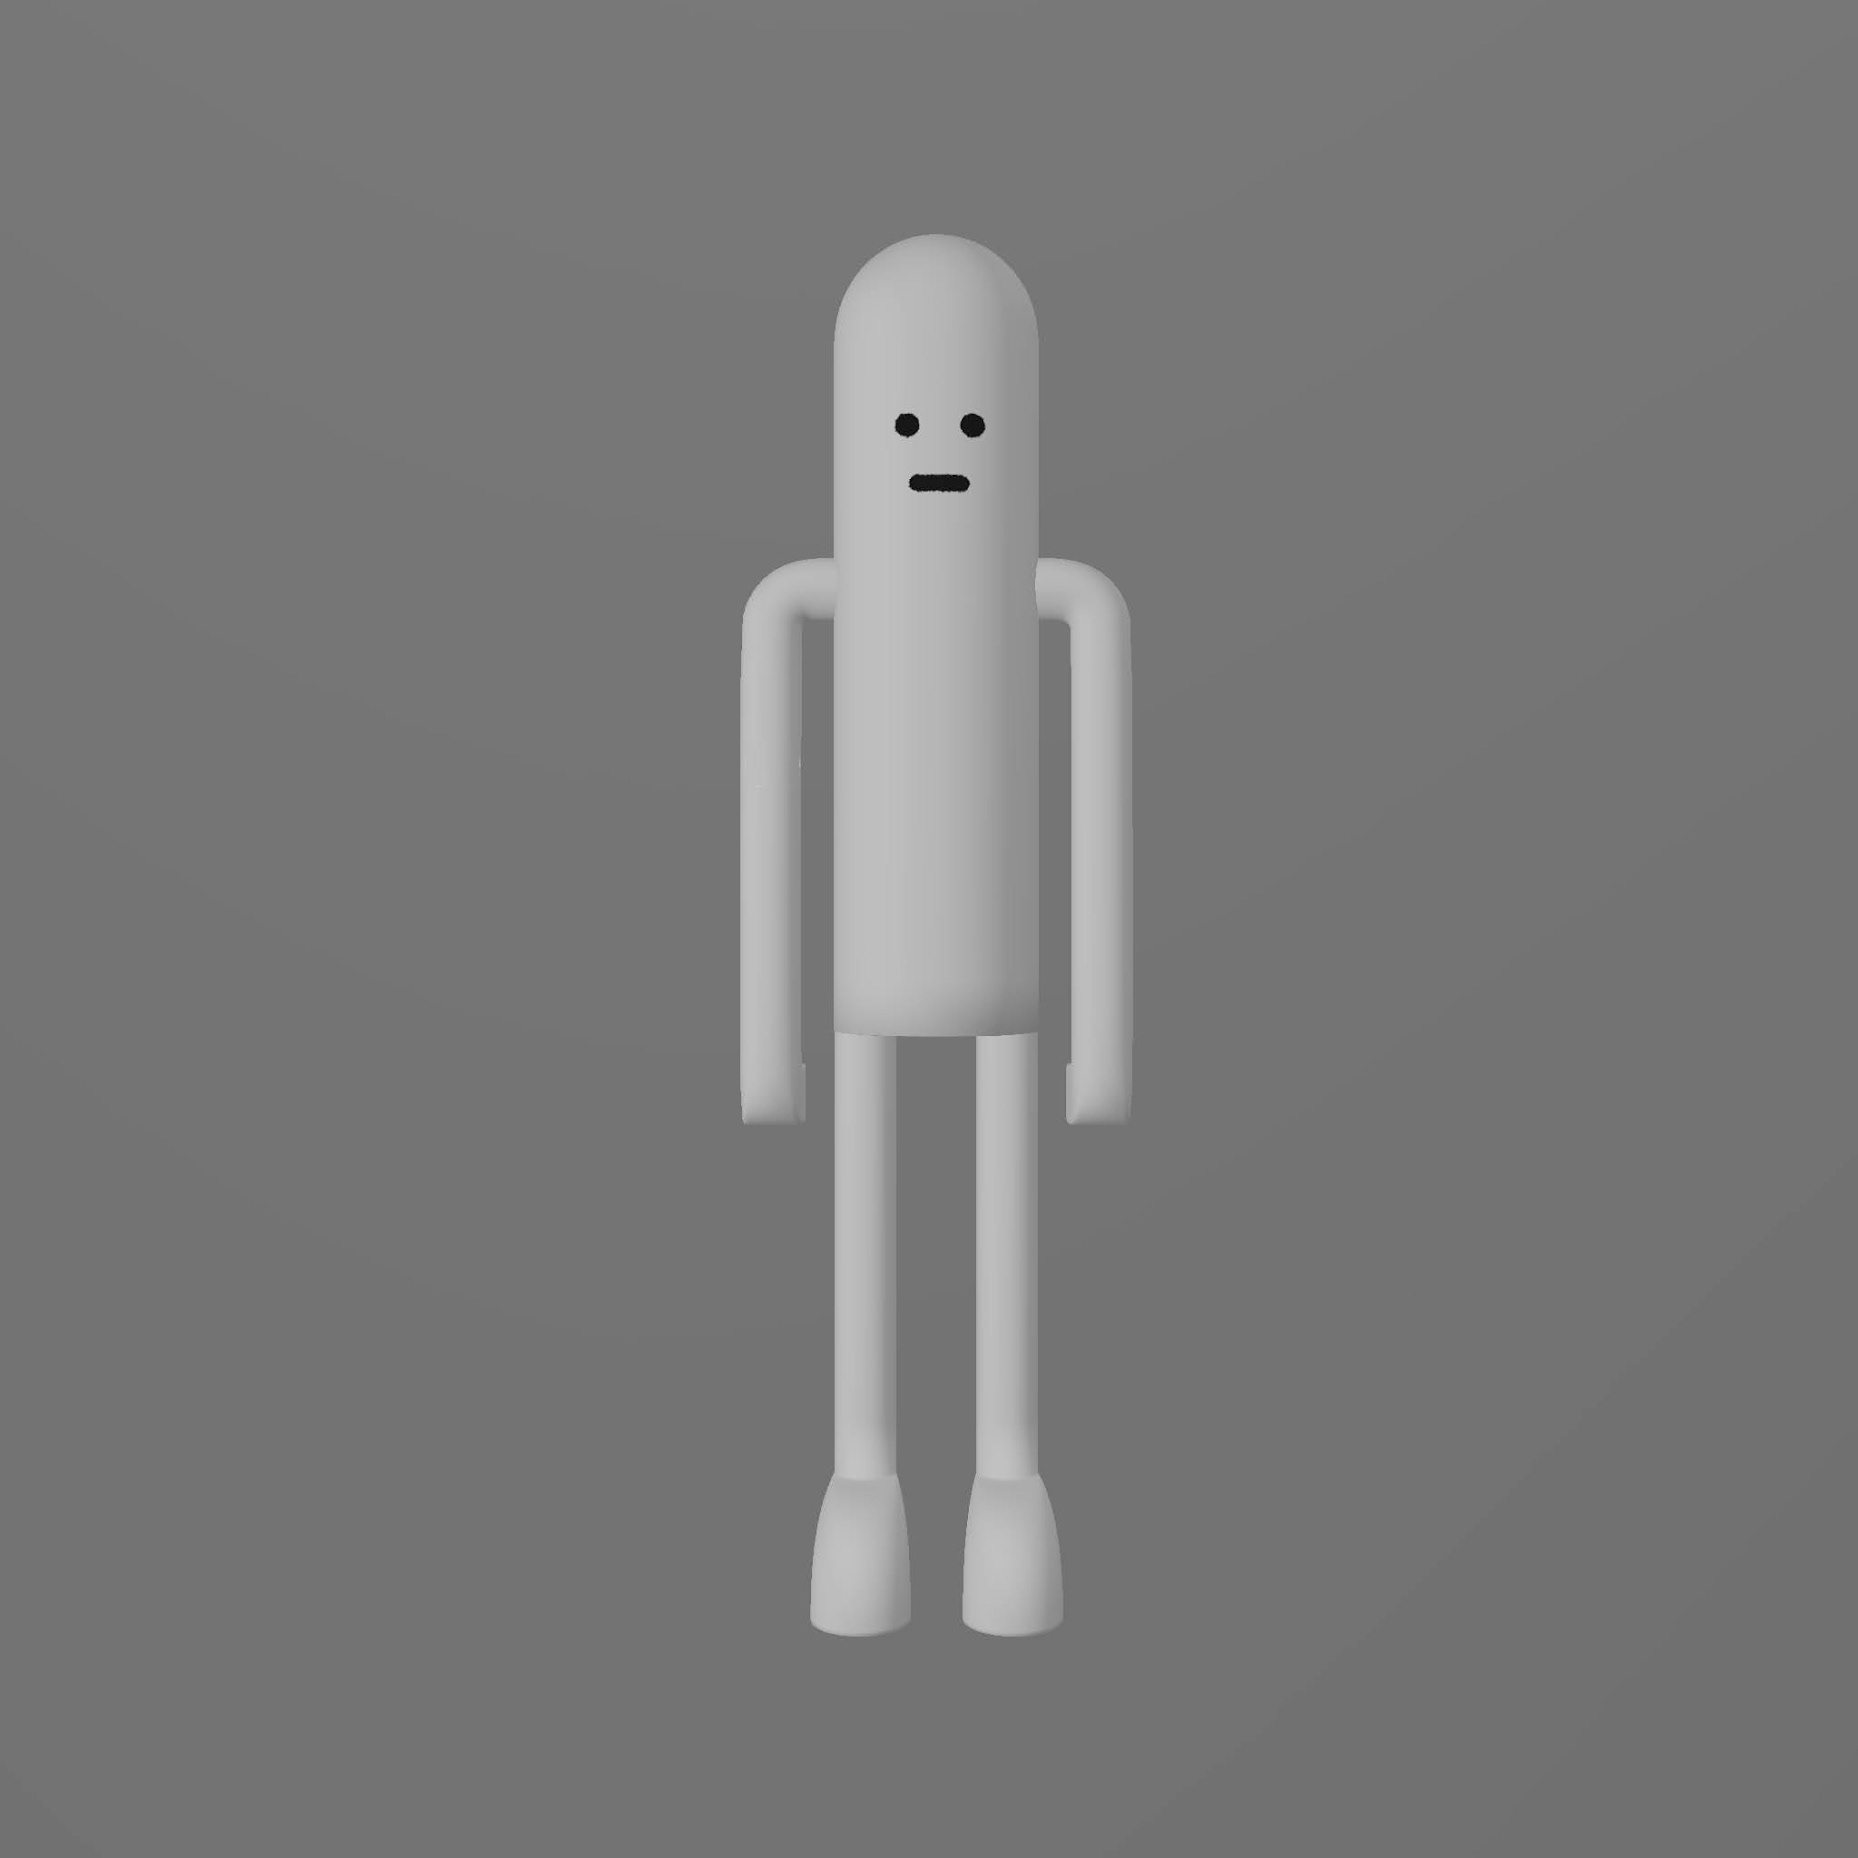
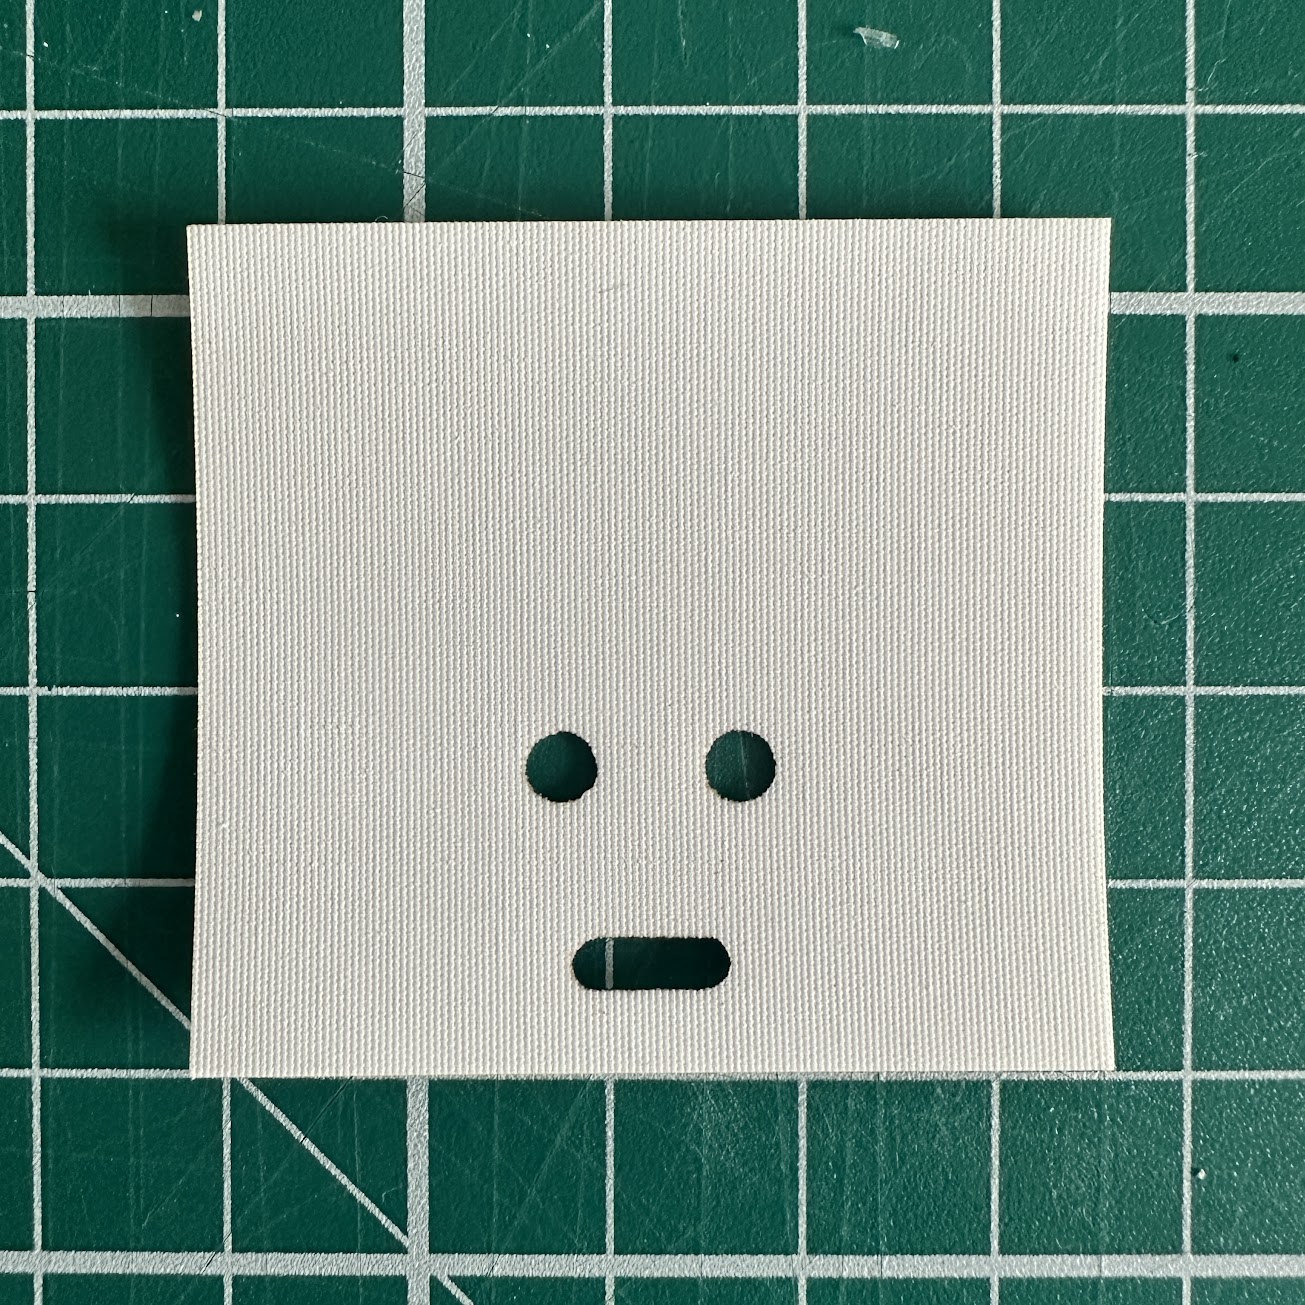
I had already made a 3D model of my character, but when I uploaded it to Cura, I was warned that it contained errors and needed fixing, which could have resulted in a failed print. As I was not sure how to fix these errors, I decided to remake the entire model, this time making sure the topology (the way in which the geometric shapes of the model are interrelated or arranged) was much cleaner. For my previous model, I started with a cylinder and built the rest of the model around it, and although I produced a relatively successful outcome, it was left with underlying issues, resulting in the error message from Cura. For my new model, I took a different approach whereby I started with a square plane, subdivided its single face into multiple faces to create extra geometry to model from, cut holes in the geometry for the character's legs, and then manipulate the geometry until I achieved the desired shape. By taking this new approach, I have adapted my skills in 3D model-making so that when I am faced with a new challenge, I will try seemingly unorthodox methods if the method that seems most straightforward does not give me the right outcome.
WEEK 21 (13/03/23 - 19/03/23)
At the beginning of the academic year, I stated in a 'Pecha Kucha' presentation that I aspired to be one of the greatest designers of my generation, but before I can achieve this goal I believe I need to gain a firmer understanding of Product Design since many of whom I believe are some of the world's greatest designers typically specialise in this medium. Such designers include Dieter Rams, Sir Jony Ive, and James Dyson. Becoming a "great" designer is by no means an easy challenge to overcome and will require many more years of practice and training before I get anywhere near this goal, but I hope that by focusing my project on product design, I will be starting the journey towards my career goal.
One of my preferred ideas from my mind map was to look into product design as it is a type of design that I have been interested in pursuing for a few years but have shied away from because it was always beyond my expertise. However, as part of my self-initiated mission to produce a captivating and show-stopping final outcome, I decided to finally take the plunge and centre my project around the medium.
One of my biggest pet peeves is bad design, especially when it comes to product design as it can affect the function of a product.
I was still interested in the idea of playing with light and making something interactive, and so I figured the best way to achieve this on a smaller scale was through projection mapping. This is a medium I was exposed to through my internship at dandelion + burdock. I also still wanted to incorporate my brand into my outcome, so came up with the idea to produce a lifesize model of my character, Obdob, to project onto. However, I was only coming at this from a surface-level point of view in the way that I thought it would just look good, not specifically about what the message behind the piece would be.
Design is everywhere.
We live in a society built on consumerism
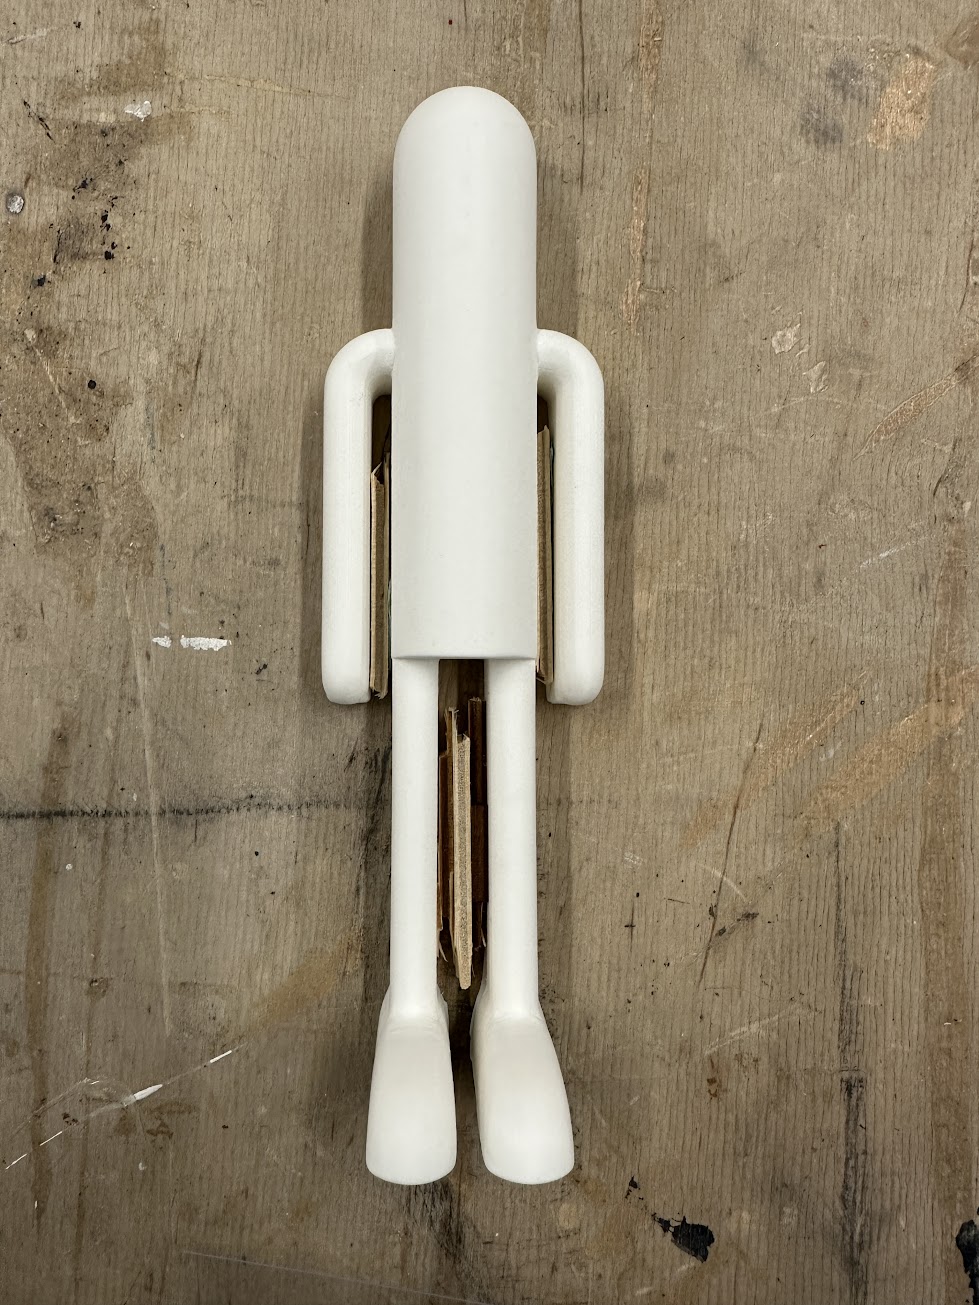
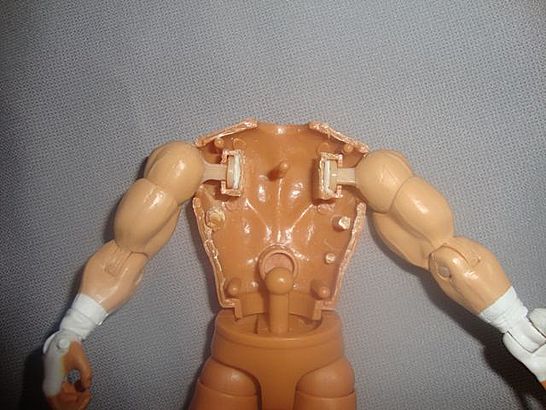
After the first print failed, Roisin suggested changing the support structure from a 'zig-zag' formation to a triangular formation in the hopes that it would provide more stability for the 3D print. This did not seem to make a difference, however, as the same issue occurred with the back of the model. As a consolation, Roisin offered to print the model using the higher-quality Formlabs 3 printer for free, and while it produced a much cleaner outcome, it still is not without its flaws. For instance, there are quite a few bumps and blemishes on the torso, and because the Formlabs printers fill empty space with solid material, the model became top heavy and cannot stand up by itself without falling over. This means that if am to print with any of the Formlabs printers again, I will need to model my own lattice support structure for the empty spaces to ensure the whole model is strong yet light.
Formlabs 3 Print
Blemishes on front of model torso from Formlabs 3 Print
Bumps on back of model torso from Formlabs 3 Print
EASTER BREAK (18/03/23 - 10/04/23)
WIP Exhibition @ OXO Tower
People watching the animation from my Minor Project
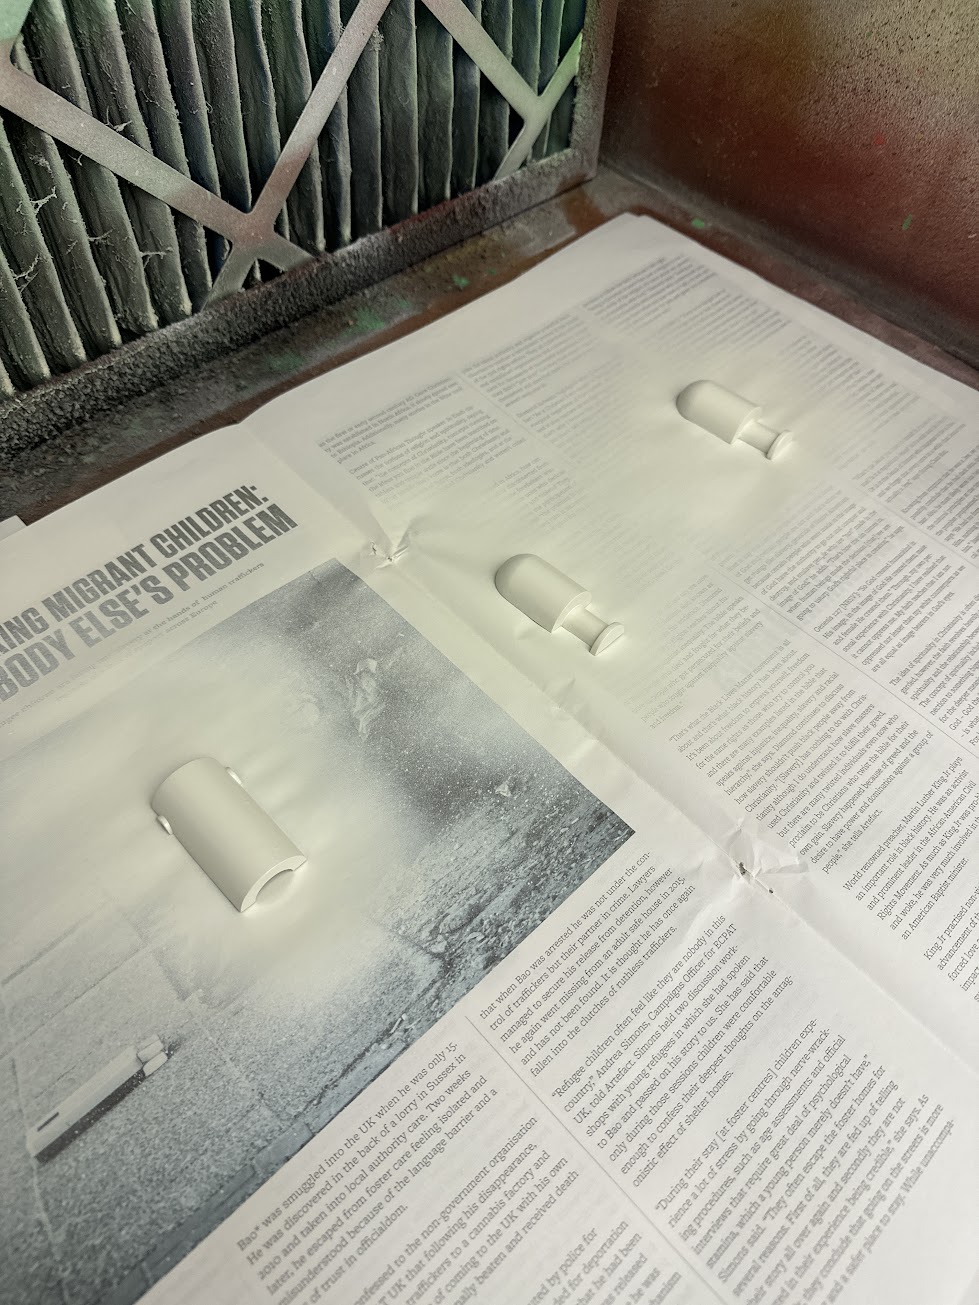
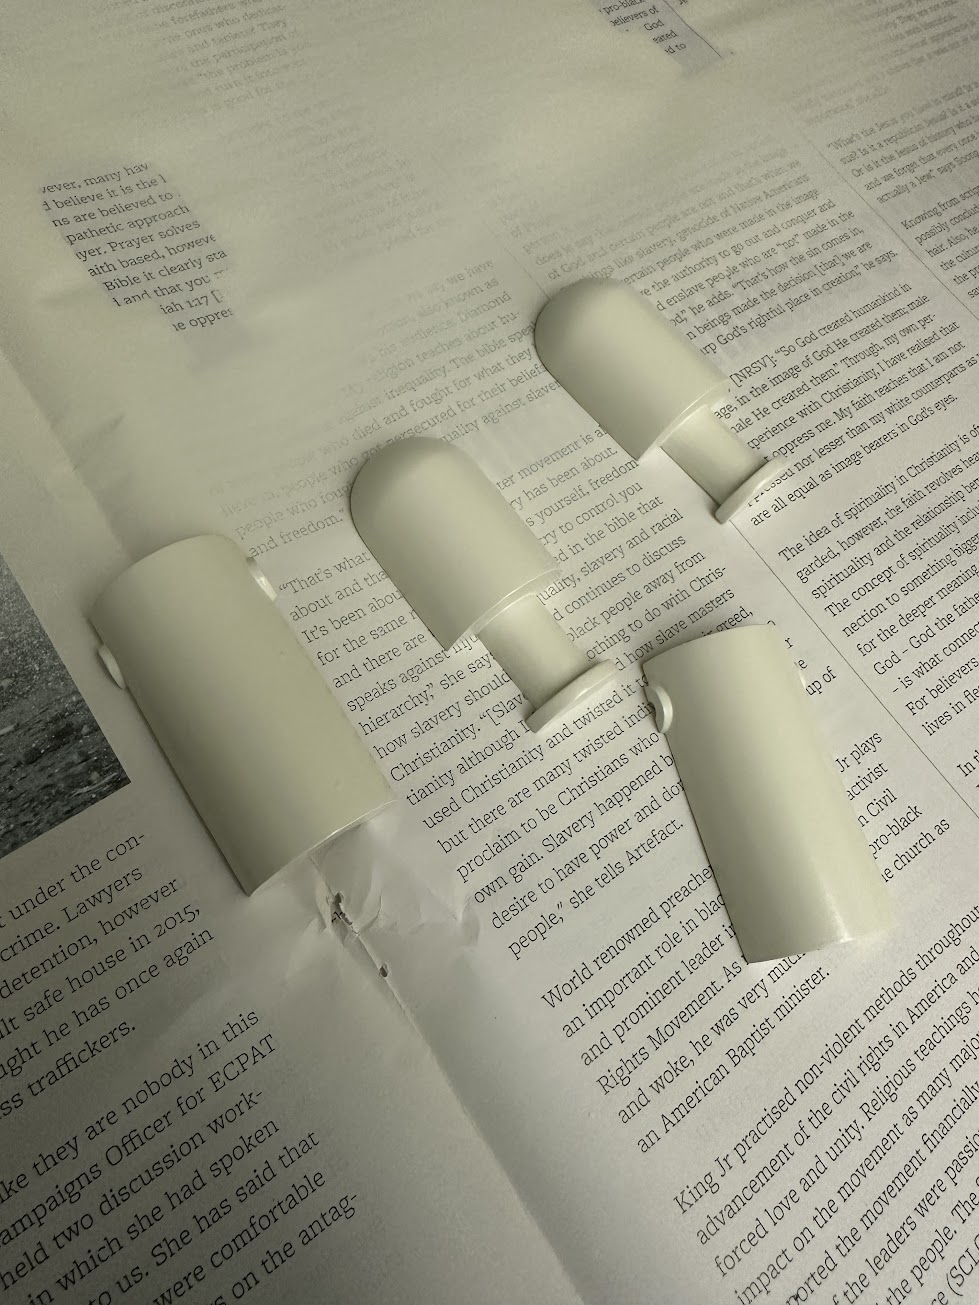
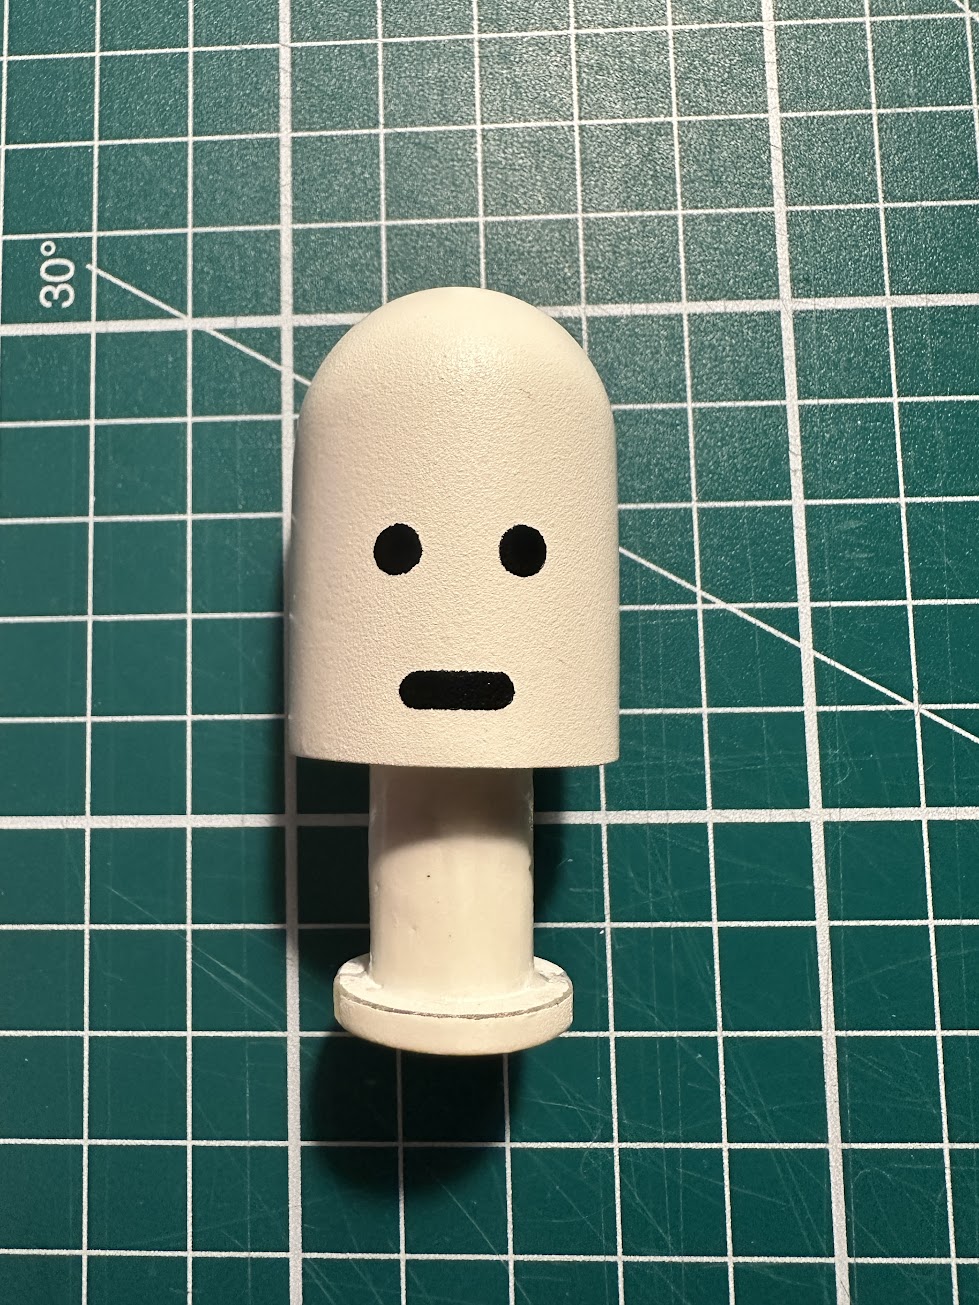
Before sanding
After sanding
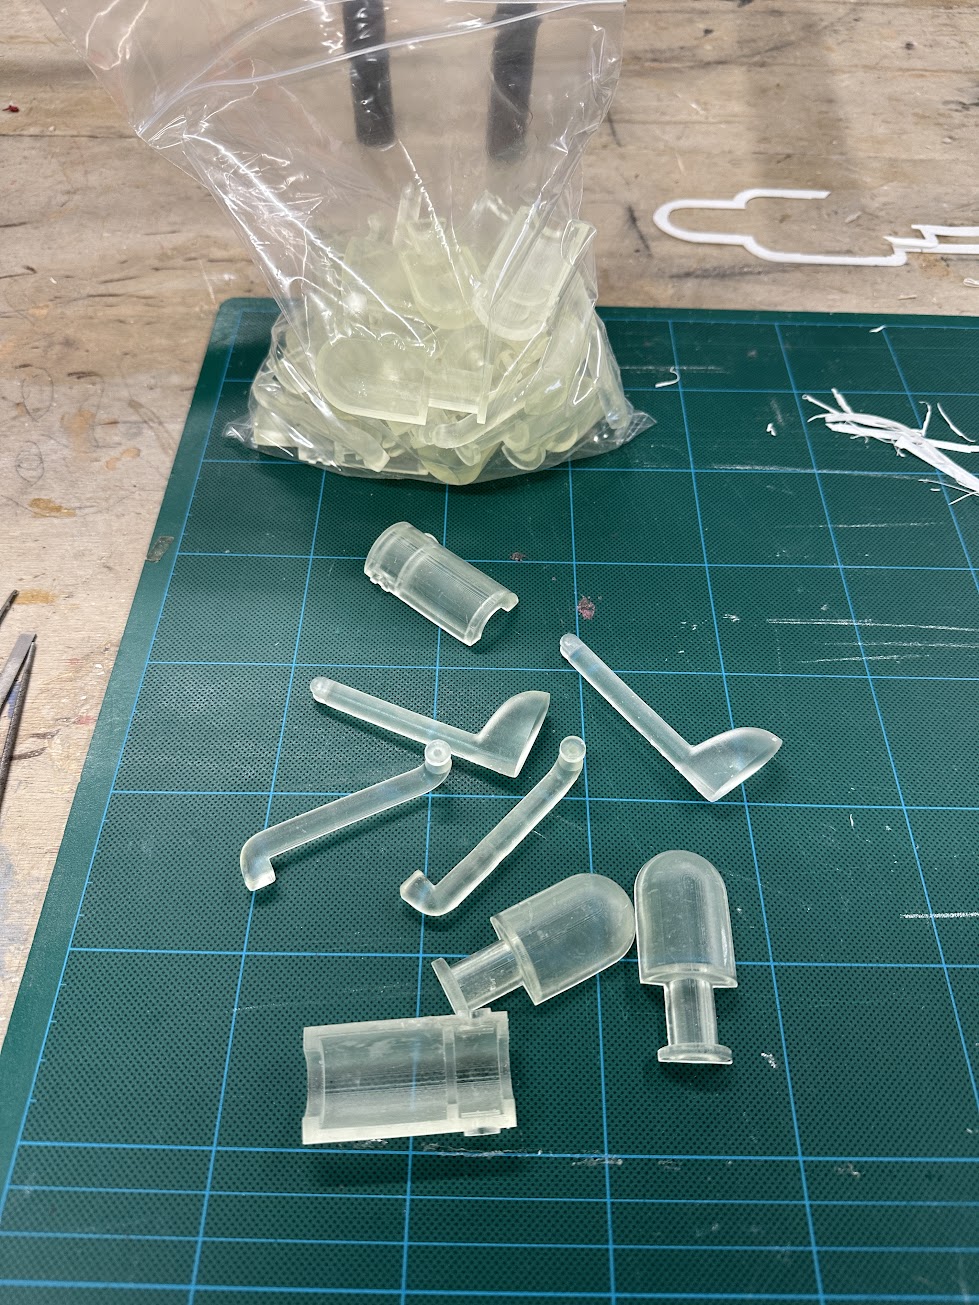
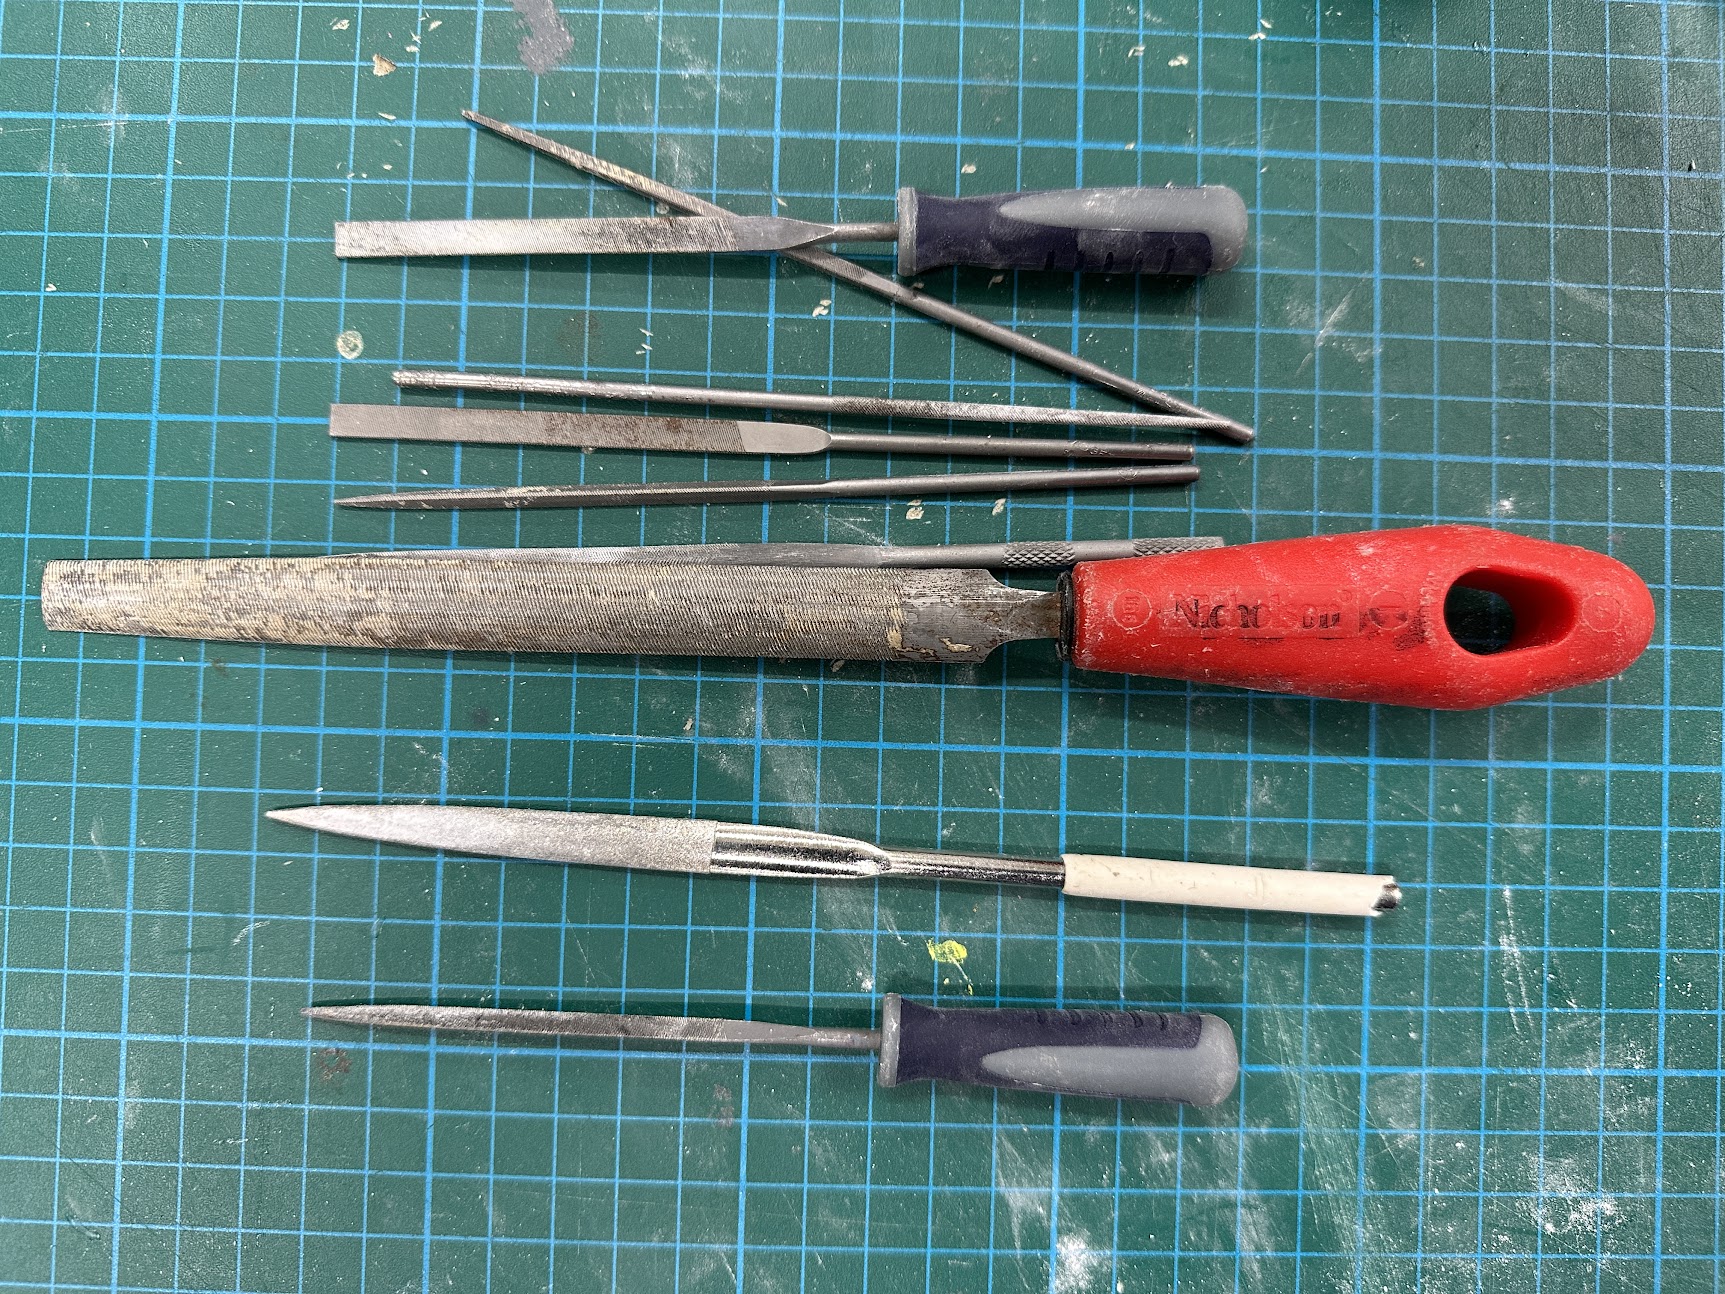
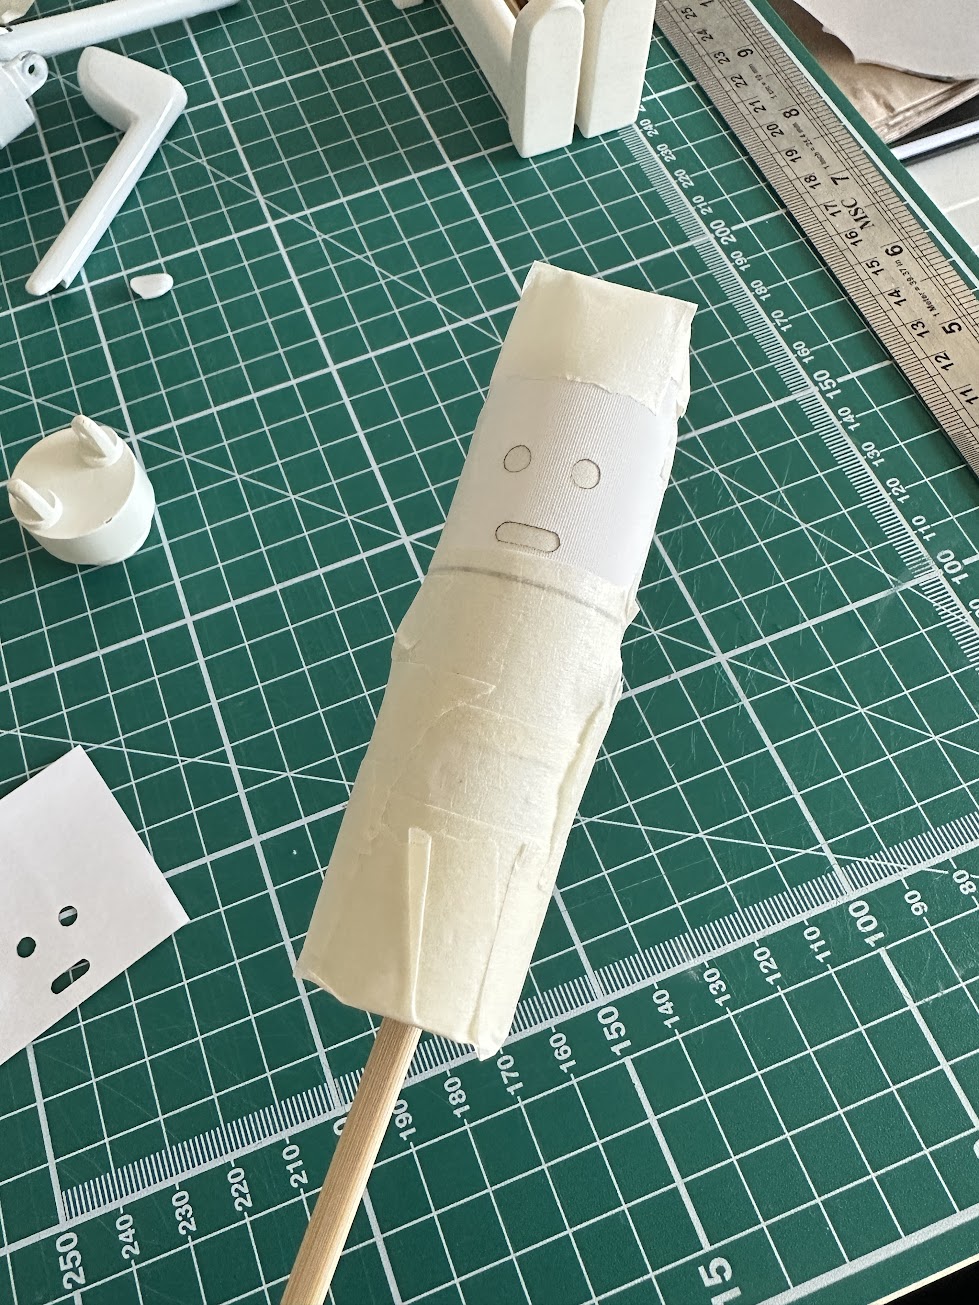
This next print came out better than the previous Ultimaker prints but required lots of trimming down and sanding to get it to make all the separate pieces fit together correctly.
As this was a prototype, I did not feel the need to sand down all the pieces until they were completely smooth.
LEGO Architecture Display in Hamley's
Playmobil Display in Hamley's
'Snails' Display in Hamley's
Barbie Display in Hamley's
Hogwarts Legacy Video Game Display in Hamley's
Minecraft Video Game Display in Hamley's
Spider-Man Display in the Disney Store
Minecraft Toy Packaging in Hamley's
WEEK 22 (10/04/23 - 16/04/23)
I attempted to rig the 3D model of my brand mascot to an armature in Blender so that I could move its limbs to create different poses and potentially create 3D animations. However, I soon realised it was not going to be as easy as I thought because after I linked the model to the armature, the entire model would warp and contort when I moved a single limb. This suggested that I would need to add constraints for each part of the body, and because my knowledge in 3D modelling is still quite small in the grand scheme of things, this would be a case of trial and error. I could not afford to waste lots of time trying on this process as it was not essential for my project outcome, so I decided to abandon it.
Failed Print
E
N
D
O
F
T
H
E
P
A
G
E
E
D
G
E
O
F
T
H
E
P
A
G
E
E
D
G
E
O
F
T
H
E
P
A
G
E
WEEK 23 (17/04/23 - 23/04/23)
As I was going to make action figures, I thought it would be a good idea to create a product stand to display them in the graduate show, so I wandered around central London, heading into every mainstream toy store I could think of, including Hamleys, FAO Schwarz in Selfridges, the LEGO flagship store, and the Disney store. Of course, I am aware of the toy store in Harrods, but after visiting all the stores on my list I was satisfied with the amount of references I had collected.
As a precautionary measure, I used the UK government’s trademark similarity checker to ensure that none of the assets from ONE BAD DAY were in danger of infringing upon any existing trademarks. I submitted the brand name, and images of both my brand mascot, Obdob, and one of the illustrations to cover all bases. Fortunately, none of the assets I submitted into the similarity checker returned any results that could endanger my brand.
Once I was clear on the similarity checker, I then performed a Google reverse image search, whereby I uploaded an image of one of my ONE BAD DAY illustrations to the Google search bar to check that my character design for Obdob was not too similar to any existing intellectual properties. Fortunately, the only comparable result I got from this was Keith Haring’s stickman figures, and even those are not too similar.
Assembled prototype
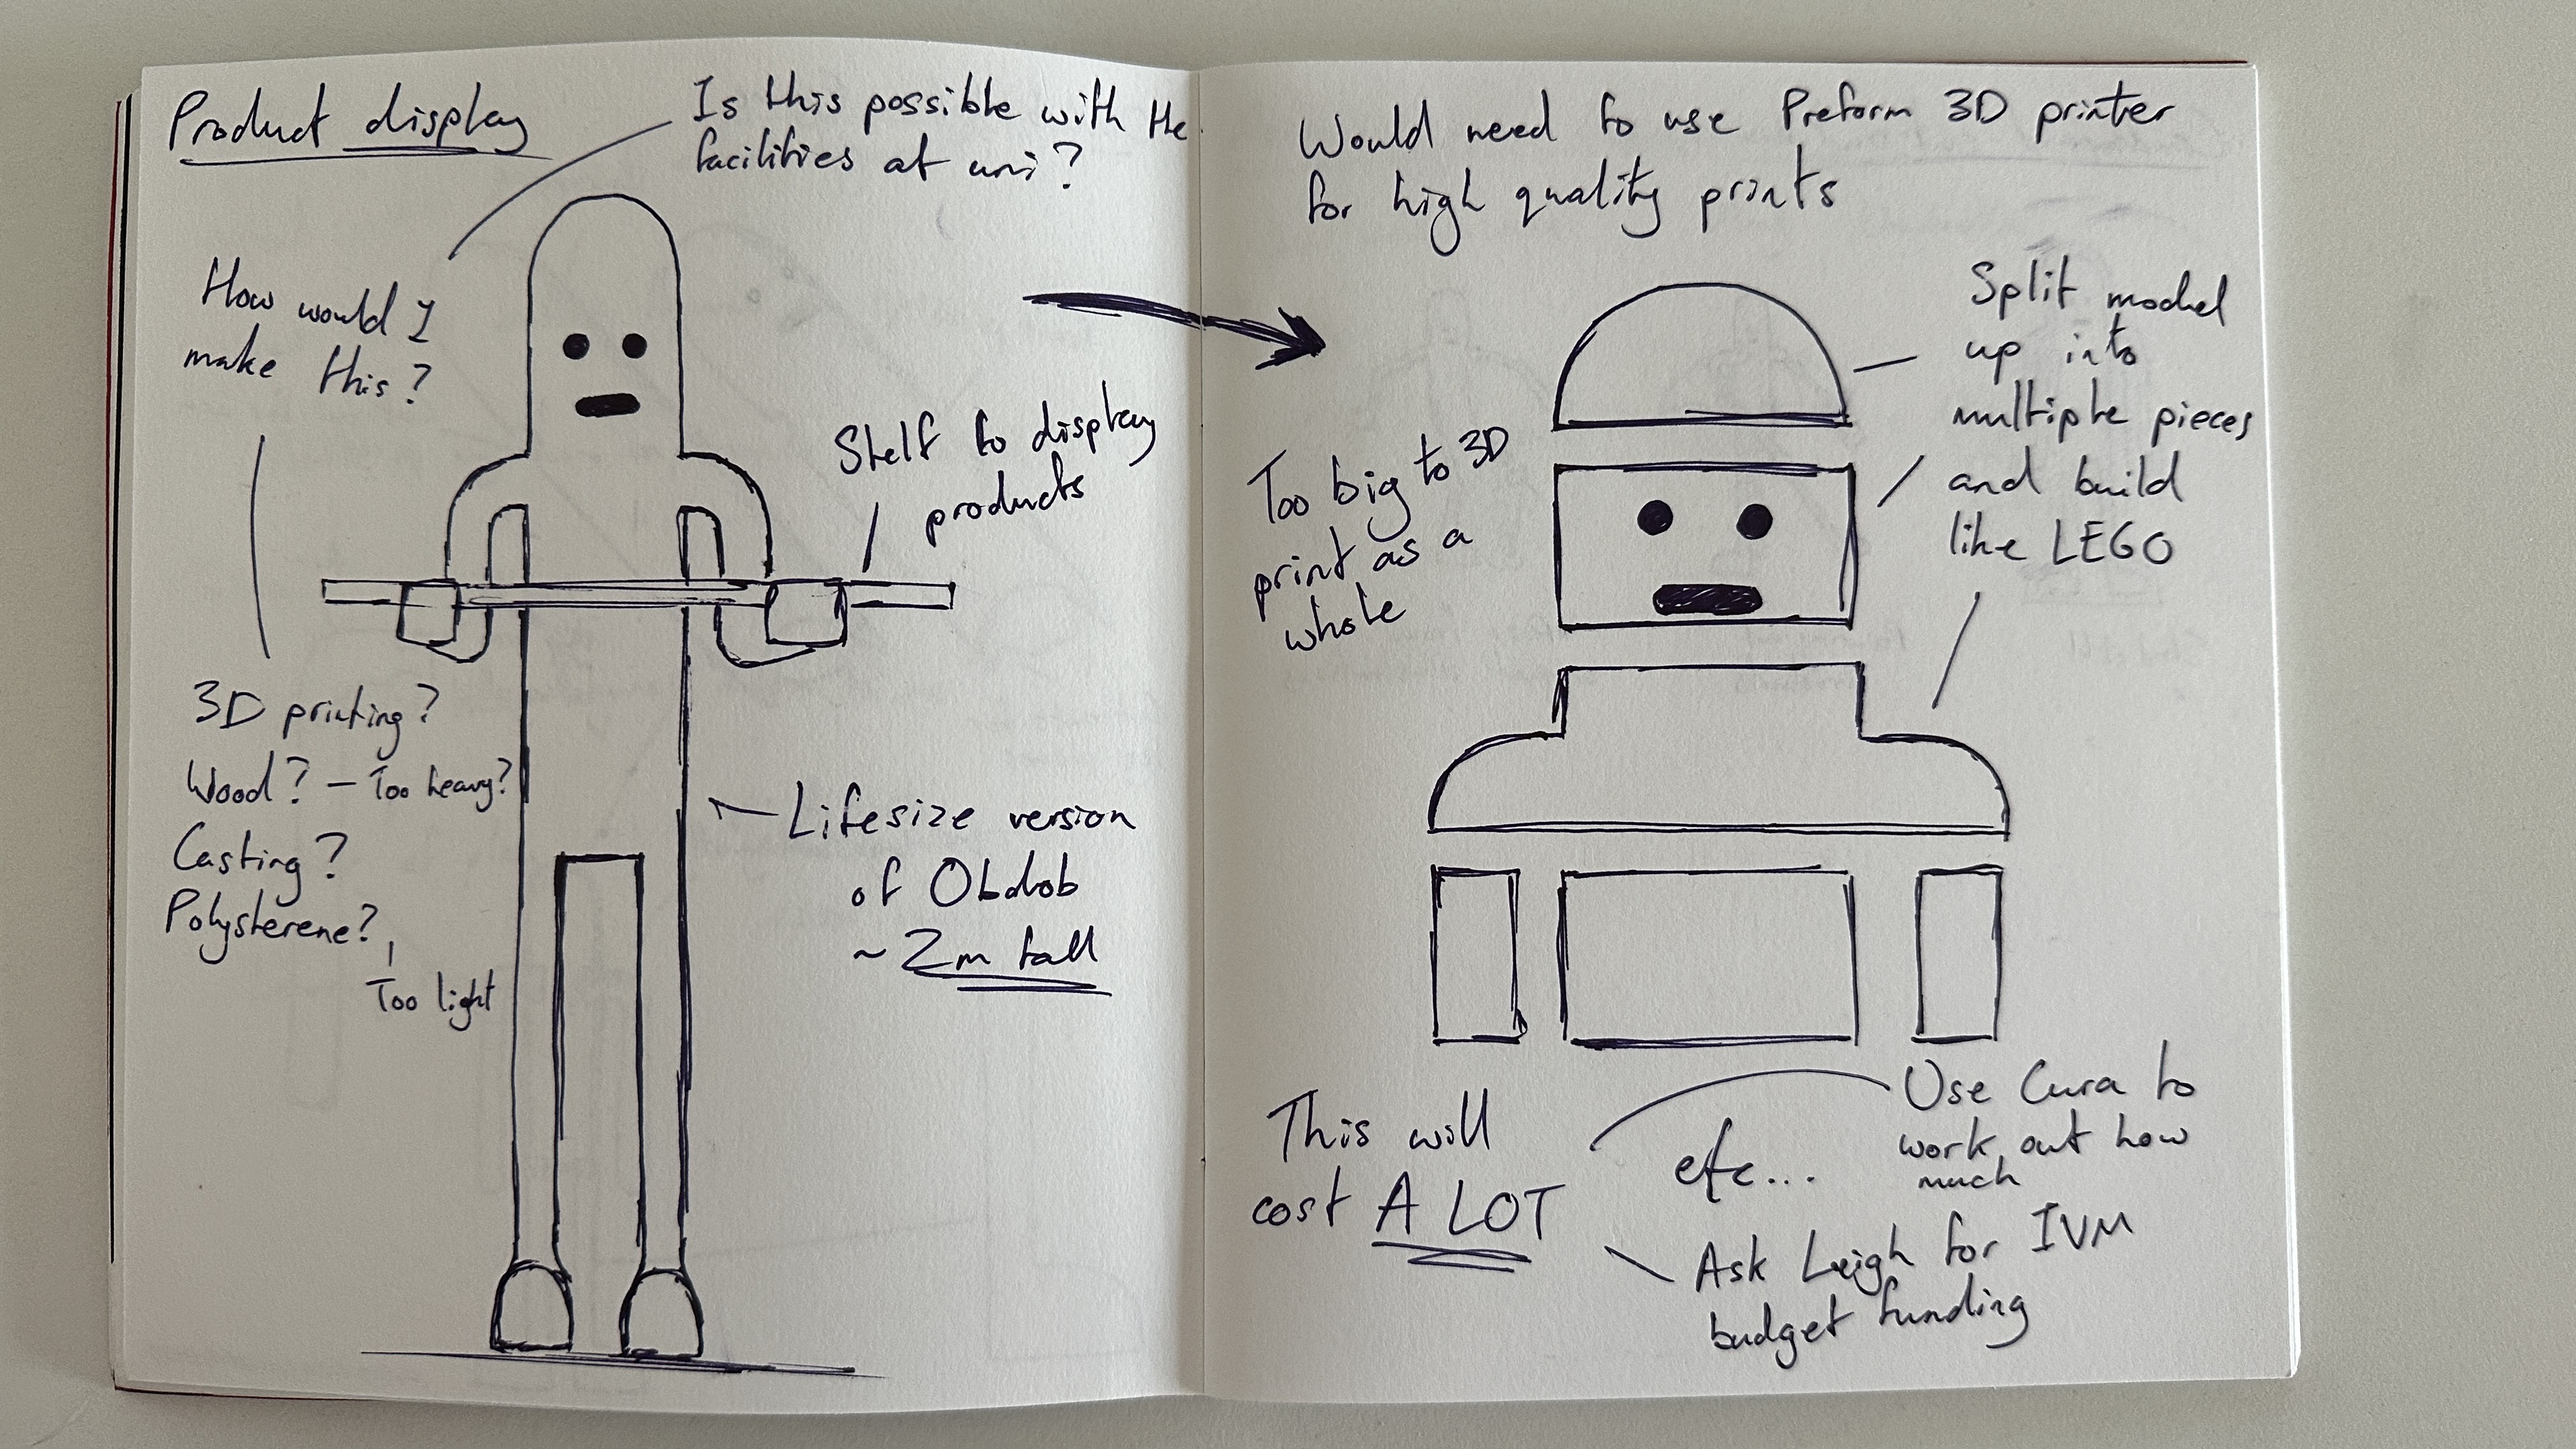
Based on the Playmobil and Barbie product display stands, I sketched some rough ideas on how I imagined my display to look. Much like the Playmobil stand, my first idea was to create a scaled-up model of my brand mascot holding a shelf for products to be displayed on. I imagined the model to stand up to 2 metres tall, but creating something on this scale would immediately pose a challenge and invite questions such as, “What materials would it be made from?”; “How heavy would it be?”; “How can it be made so there is a balanced weight distribution?” etc. I thought about 3D printing the model, but that meant that it would either have to be printed in segments and built like LEGO bricks since the maximum size anything can be printed in the 3D workshop is 335mm x 200mm x 300mm, or I would have to outsource and get it printed externally. I also considered building it out of wood, but that would require skills in carpentry, which I did not have. I deduced that whichever way I produced this model it would be far too expensive or complex to make, so I determined this idea would be better saved for when my brand is fully-established and I can afford it.
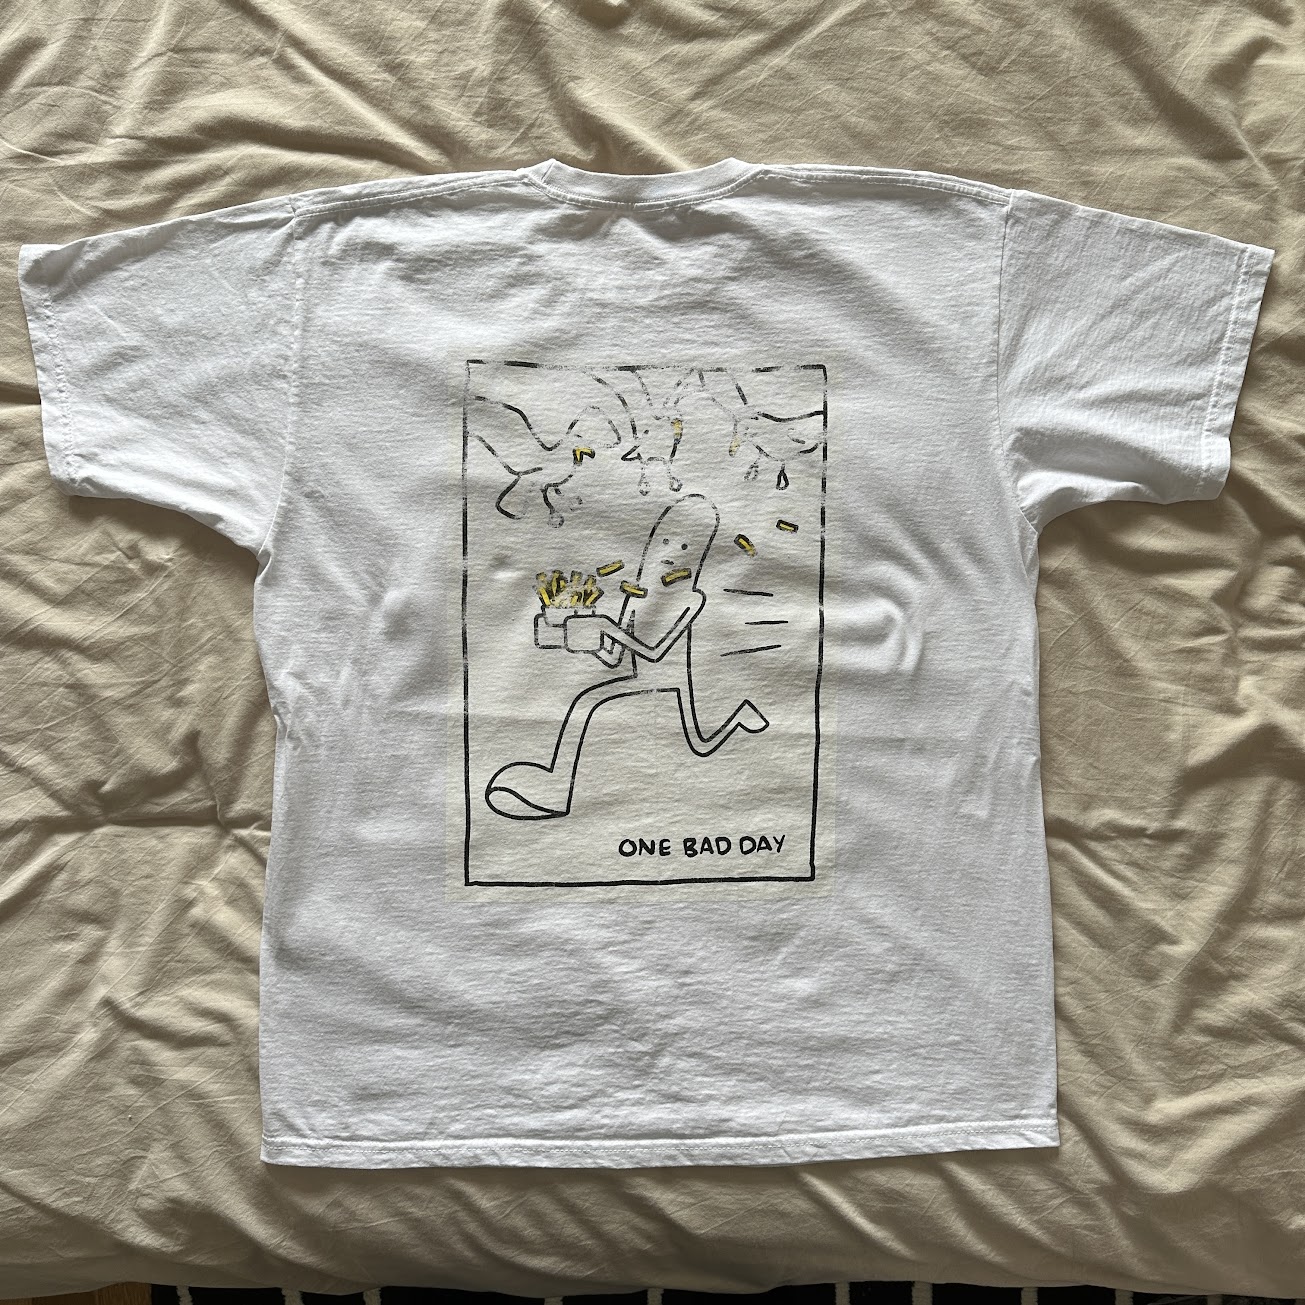
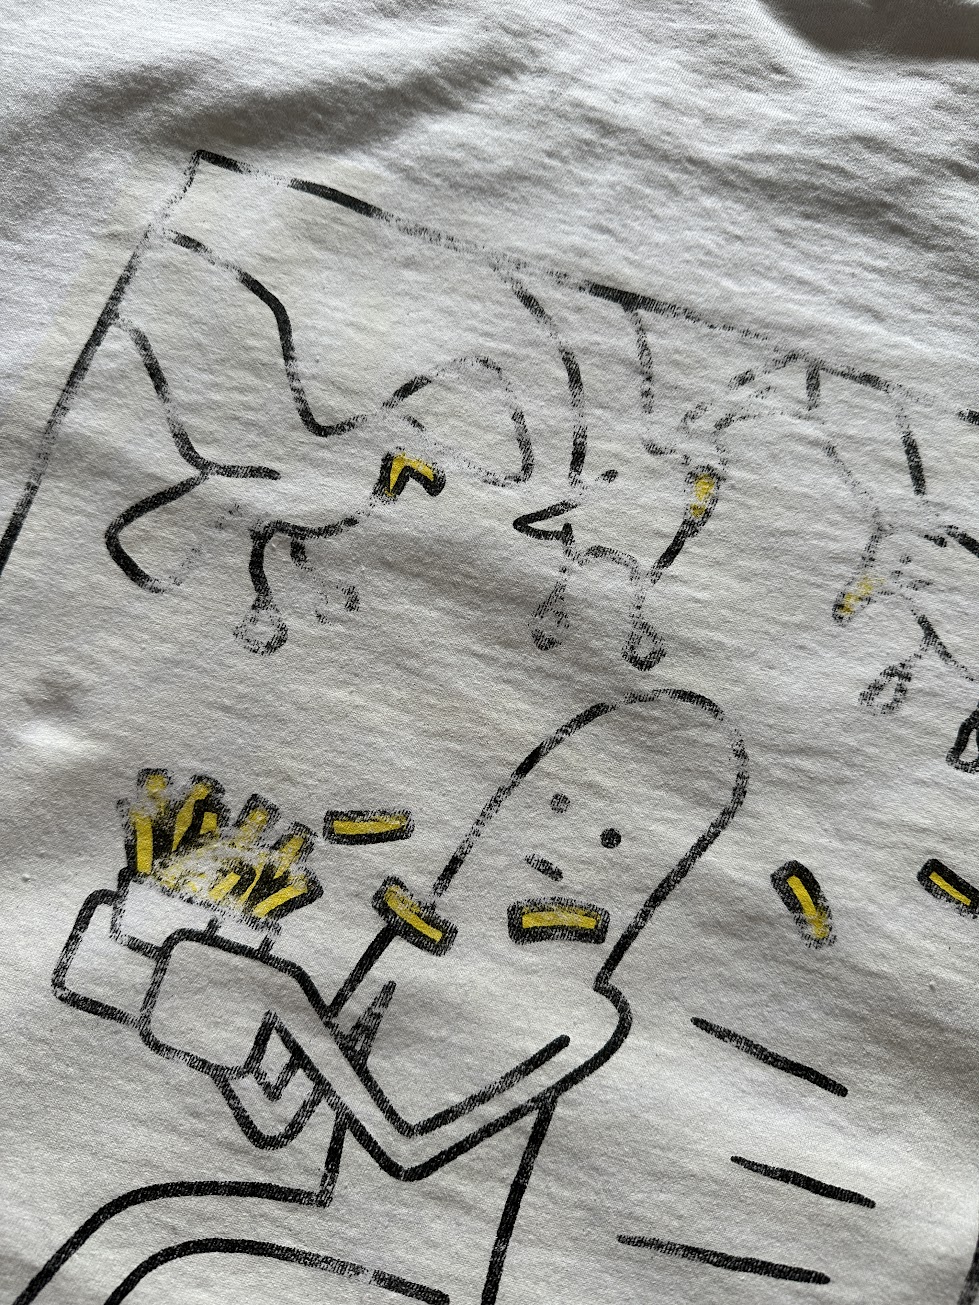
I figured I should get started on my t-shirts.
I used a ONE BAD DAY design that I thought would be the most relatable to people.
This is a design I call 'friendzoned.' as it shows a raw depiction of the experience of being "friendzoned".
I sent out a survey using SurveyMonkey.com to 299 people, 206 of which were my followers on Instagram and 93 were from the course group chat on Whatsapp, over the course of a week to understand consumer demand for my t-shirts. I needed to keep the survey short and simple since many of us have a very short attention span, so I purposefully opted to only include two simple questions:
"Which t-shirt design would you consider buying, if any?"
"What is the maximum amount you would spend on a t-shirt?"
The first question gave participants five t-shirts to choose from. The second question gave participants a simple text box to provide custom responses.
WEEK 24 (24/04/23 - 30/04/23)
I decided to print my next version at twice the size of the previous versions to see if the scale was the reason why everything thus far had not been printing correctly. Unfortunately, printing at a larger scale did not improve anything. In fact, this version came out even worse than the previous versions as the hands on the model fell off and the torso pieces were incredibly warped. I built the model despite these flaws just to see how it would look as a larger figure, but as the torso pieces were so warped, I had to fill in the empty spaces with hot glue, and you could see the leg joint from the exterior.
I went back into the Blender file to see if the cause of the hands falling off was incorrect geometry. I found that some of the vertices where the hands and arms intersect had merged together, so I deleted this intersection and remodelled it.
Printed my next version using the PreForm 3
O
O
O
O
O
O
O
O
O
O
WEEK 25 (01/05/23 - 07/05/23)
WEEK 26 (08/05/23 - 14/05/23)
I created a simple mock-up of what I imagined my action figure's packaging would look like.
I matched the style to my ONE BAD DAY theme by using a white background with a black hand-drawn border.
Using an existing 3D model of my brand mascot I created during my internship at dandelion + burdock, I determined the rough body proportions of my proposed action figure and noted them in a diagram.

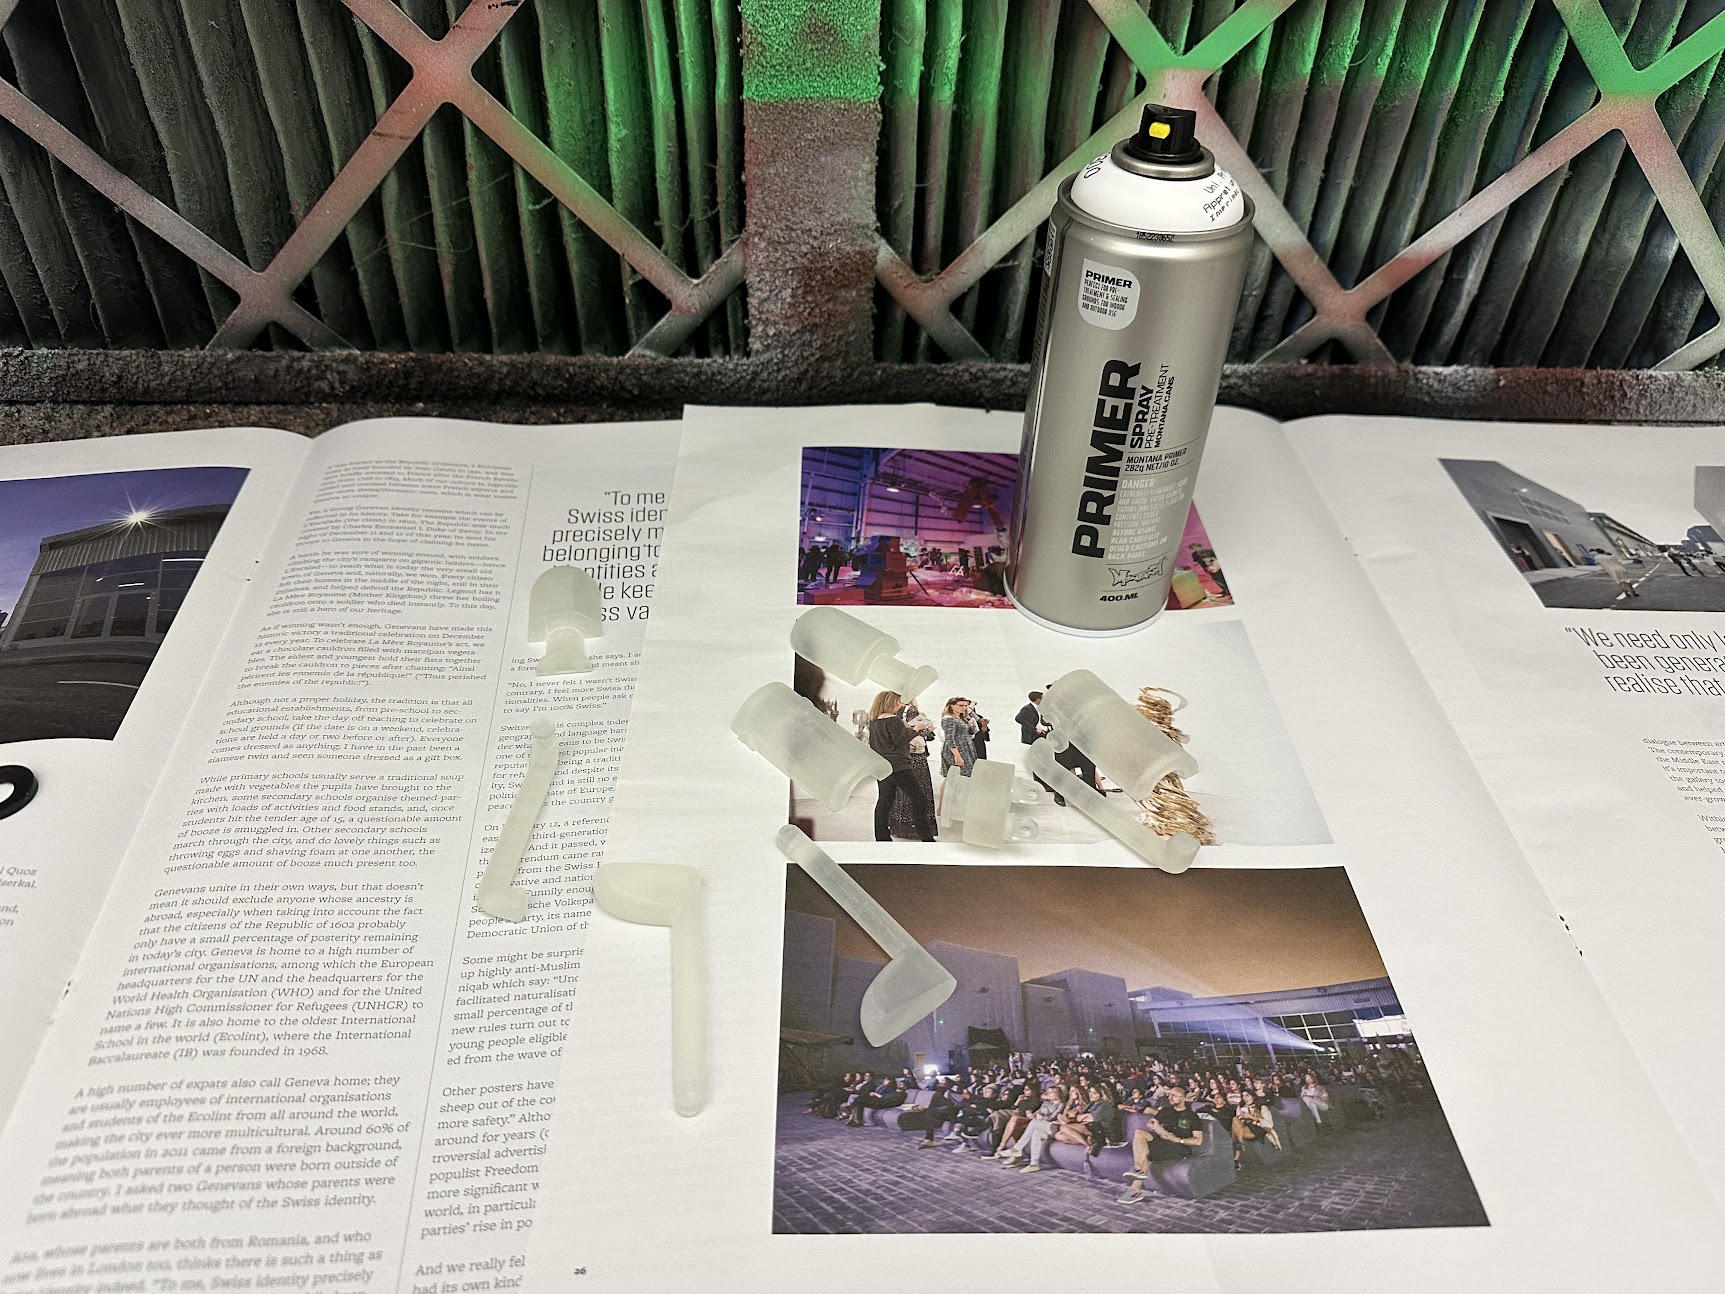

Typically, action figures are made using various liquid plastics depending on the application. For example, polyvinyl chloride (PVC) and acrylonitrile butadiene styrene (ABS) are used to form intricate shapes, such as torso and head pieces as they are lightweight and durable, whereas soft plastics are used for flexible joints and accessories as they provide elasticity. As I talked with one of the 3D workshop technicians, Roisin, it became clear to me that using these materials would not be possible in the 3D workshop as the chemicals released from the moulding process would be carcinogenic. The materials would also be very expensive.
ISA EXTENSION (11/05/23 - 25/05/23)
FINAL PACKAGING DESIGN
This blog contains a lot of content, so prepare for long loading times if you have a weak internet connection
ACTION FIGURE FINAL OUTCOME
As an initial step for my research, I took a
self-initiated trip to the Design Museum to look for product design inspiration. For the first part of my trip, I visited a new exhibition titled, ‘Objects of Desire: Surrealism and Design’, which explores the conception of the surrealist movement in the 1920s and the impact it has had on the design world ever since. While surrealism is not my favourite form of design, I was intrigued by the objects that had a strong focus on both form and function and took photos of them to use as potential inspiration for my own work.
The idea of a square-shaped zine appealed to me as it offers a unique and visually-striking design aesthetic compared to the standard rectangular A4 format. The square format I feel elevates the page beyond standard publications and disconnects you from what is conceivably a benign medium. The new format exists in the art realm as a composition in itself. I believe it allows for more balanced compositions and creative layouts that can enhance the overall visual impact of a zine, or any
other publication for that matter.
I thought I could use my existing 3d model, but when I uploaded it to the 3D printing software, Cura, I was warned that the geometry contained errors that could result in a failed print. I revisited my existing model in Blender, but could not find what was causing the issue, so I decided to remake the entire model, this time making sure the topology (the way in which the geometric shapes of the model are interrelated or arranged) was much cleaner. For my previous model, I started with a cylinder and built the rest of the model around it, and although I produced a relatively successful outcome, it was left with underlying issues, resulting in the error message from Cura. For my new model, I instead started with a square plane, subdivided its ‘face’ into multiple faces to create extra geometry to model from, cut holes in the geometry for the character's legs, and manipulated the geometry until I achieved the desired shape. By taking this new approach, I have adapted my skills in 3D model-making so that when I am faced with a new challenge, I will try seemingly unorthodox methods if the method that seems most straightforward does not
give me the desired outcome.
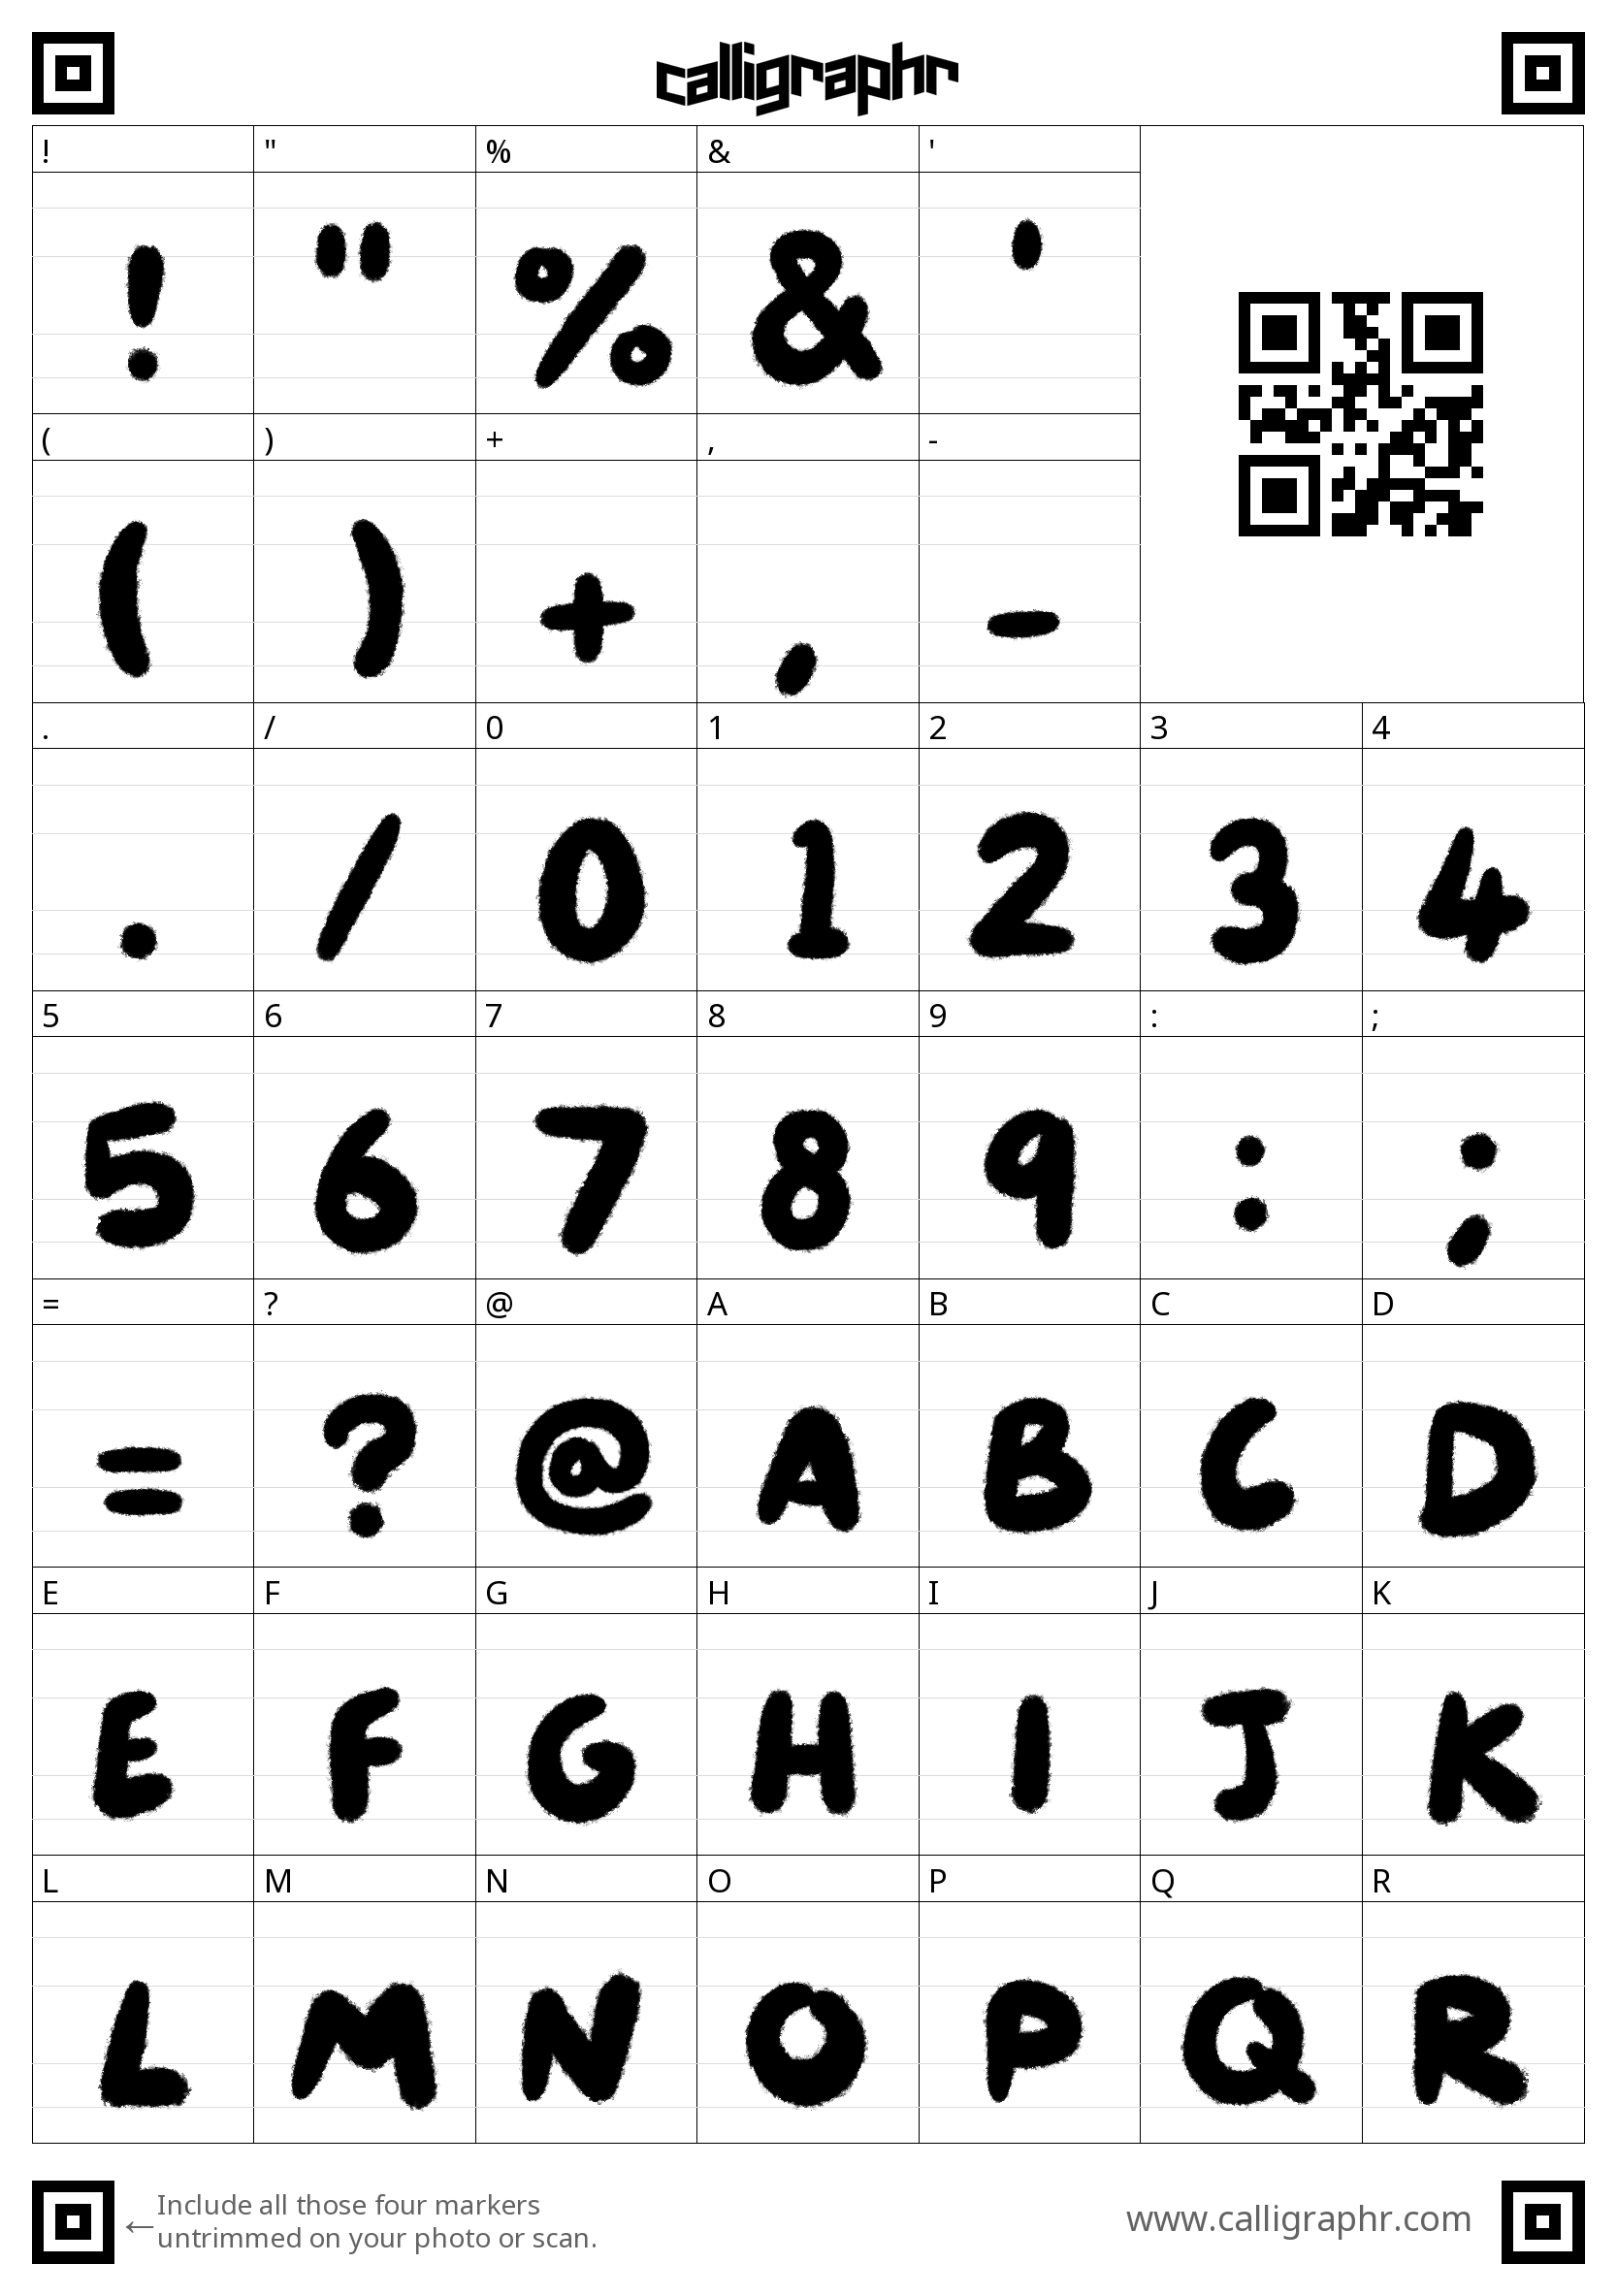
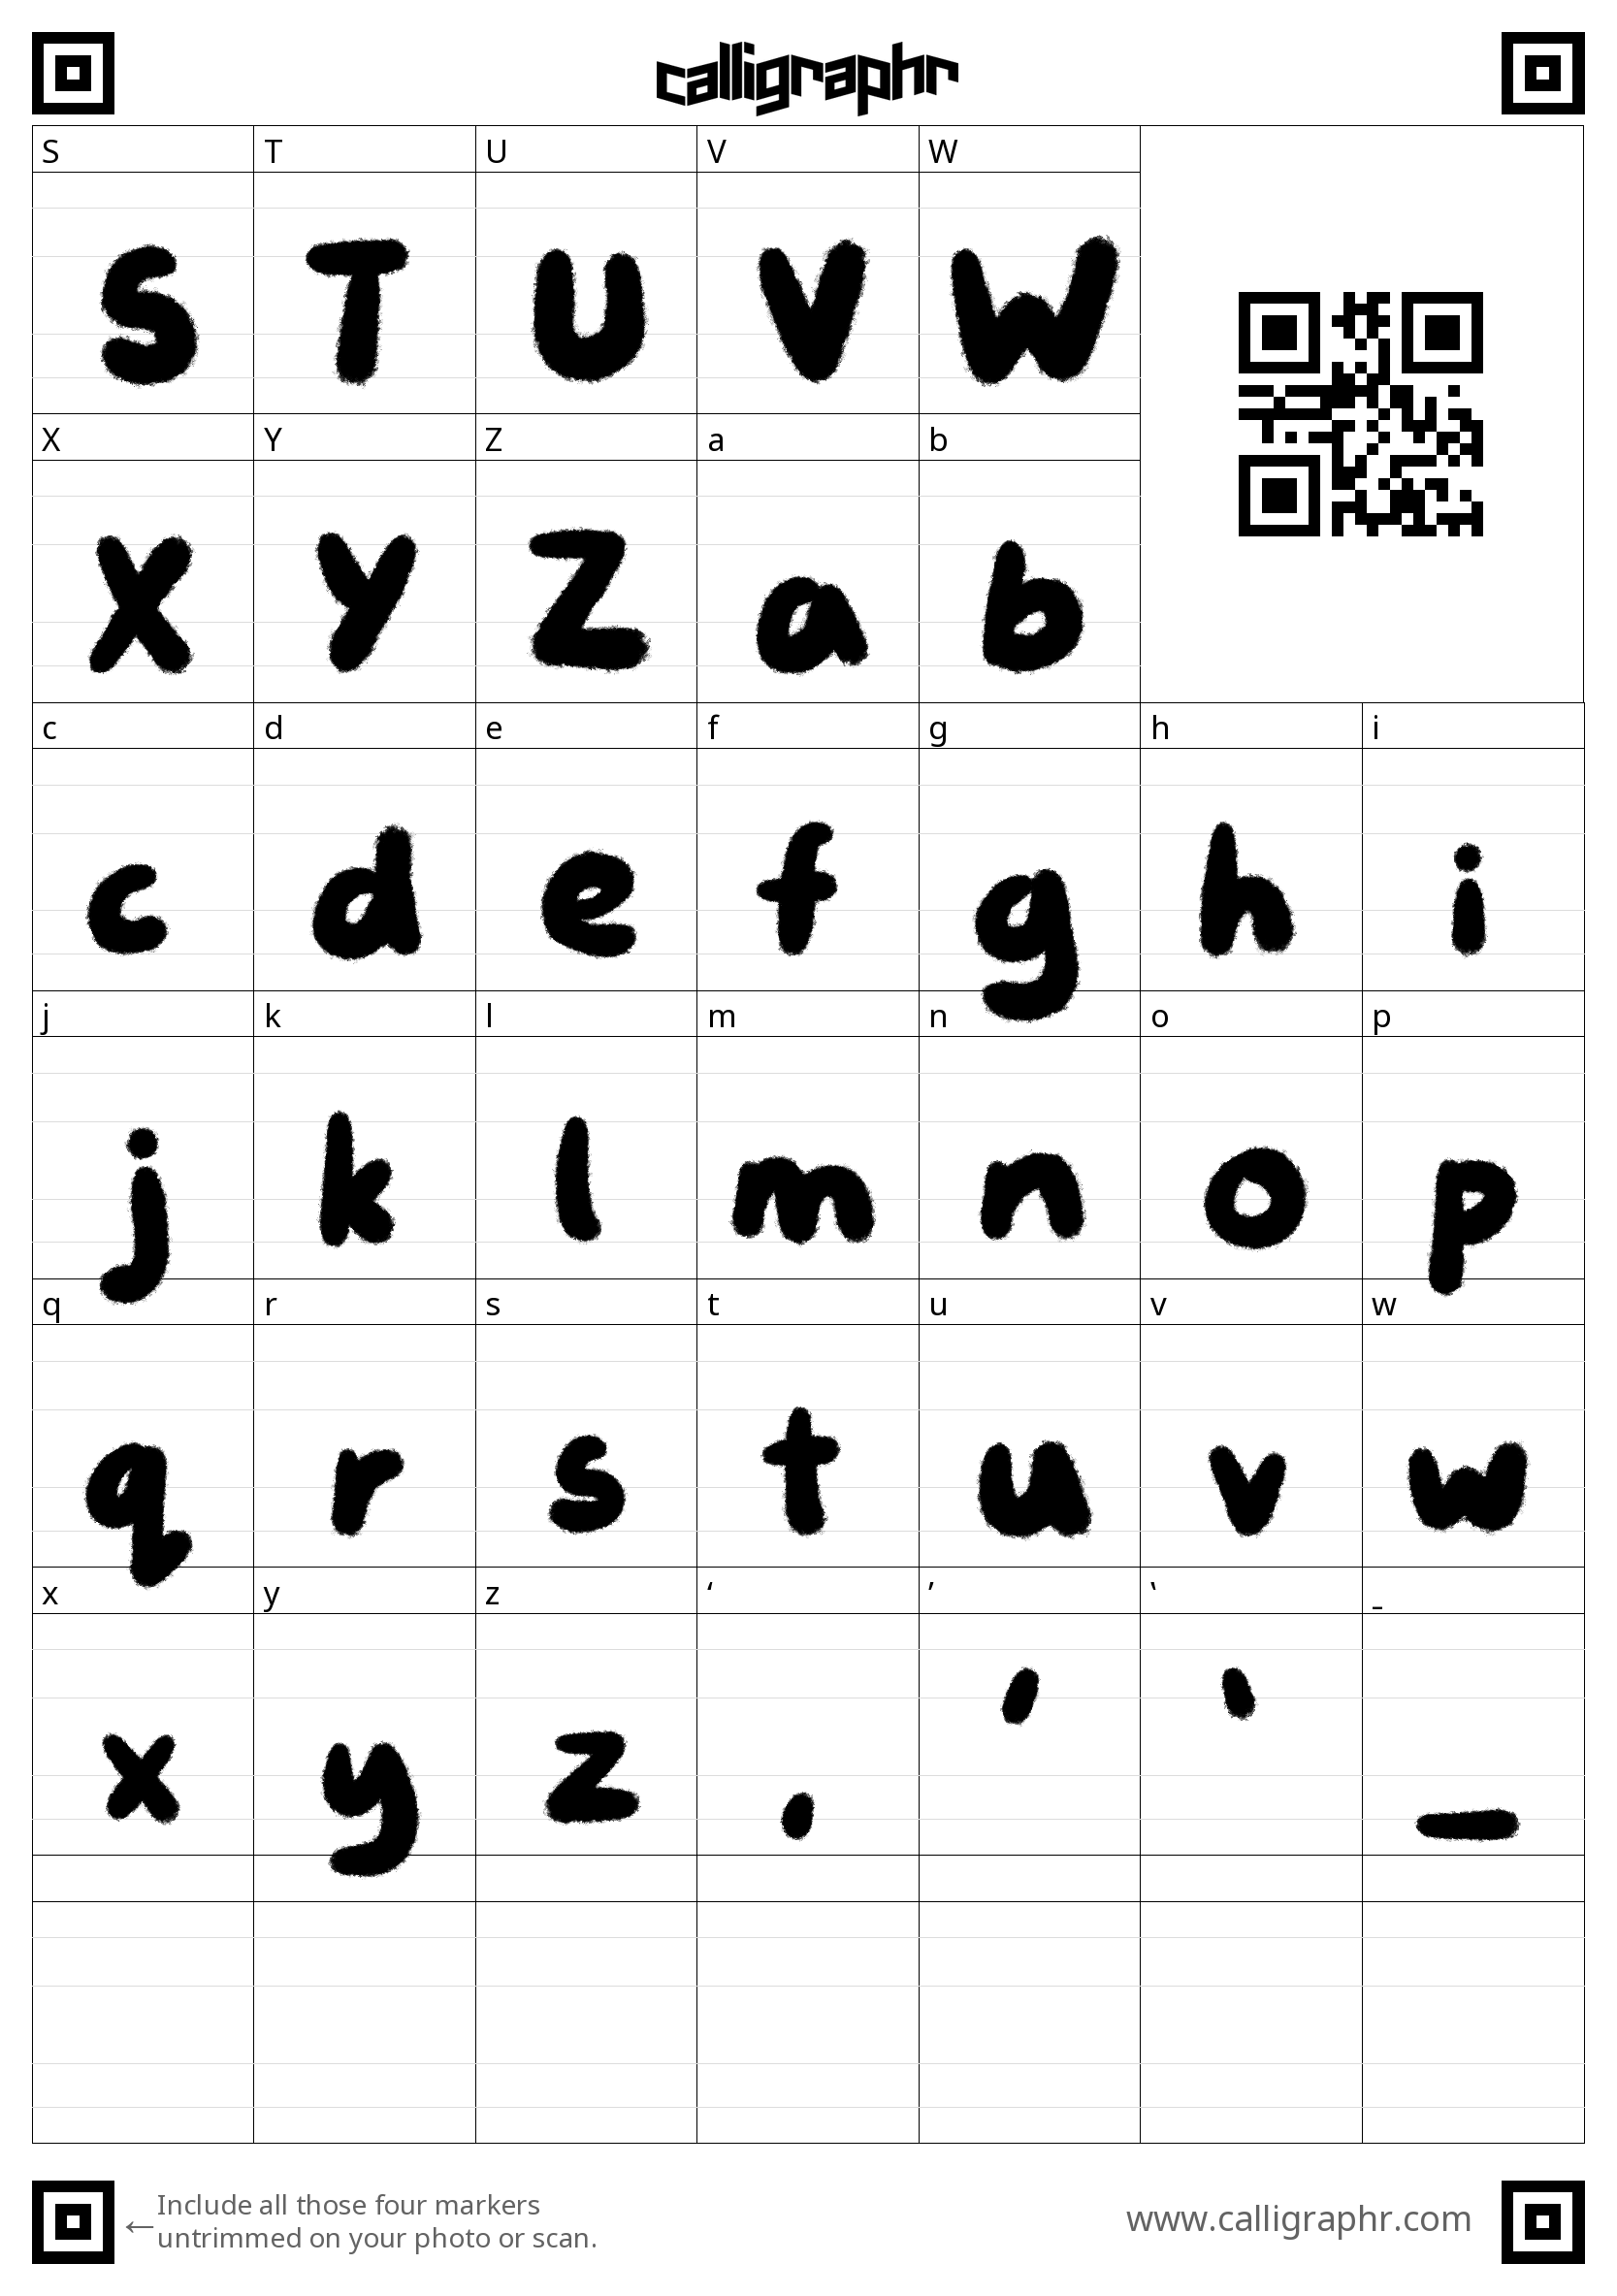
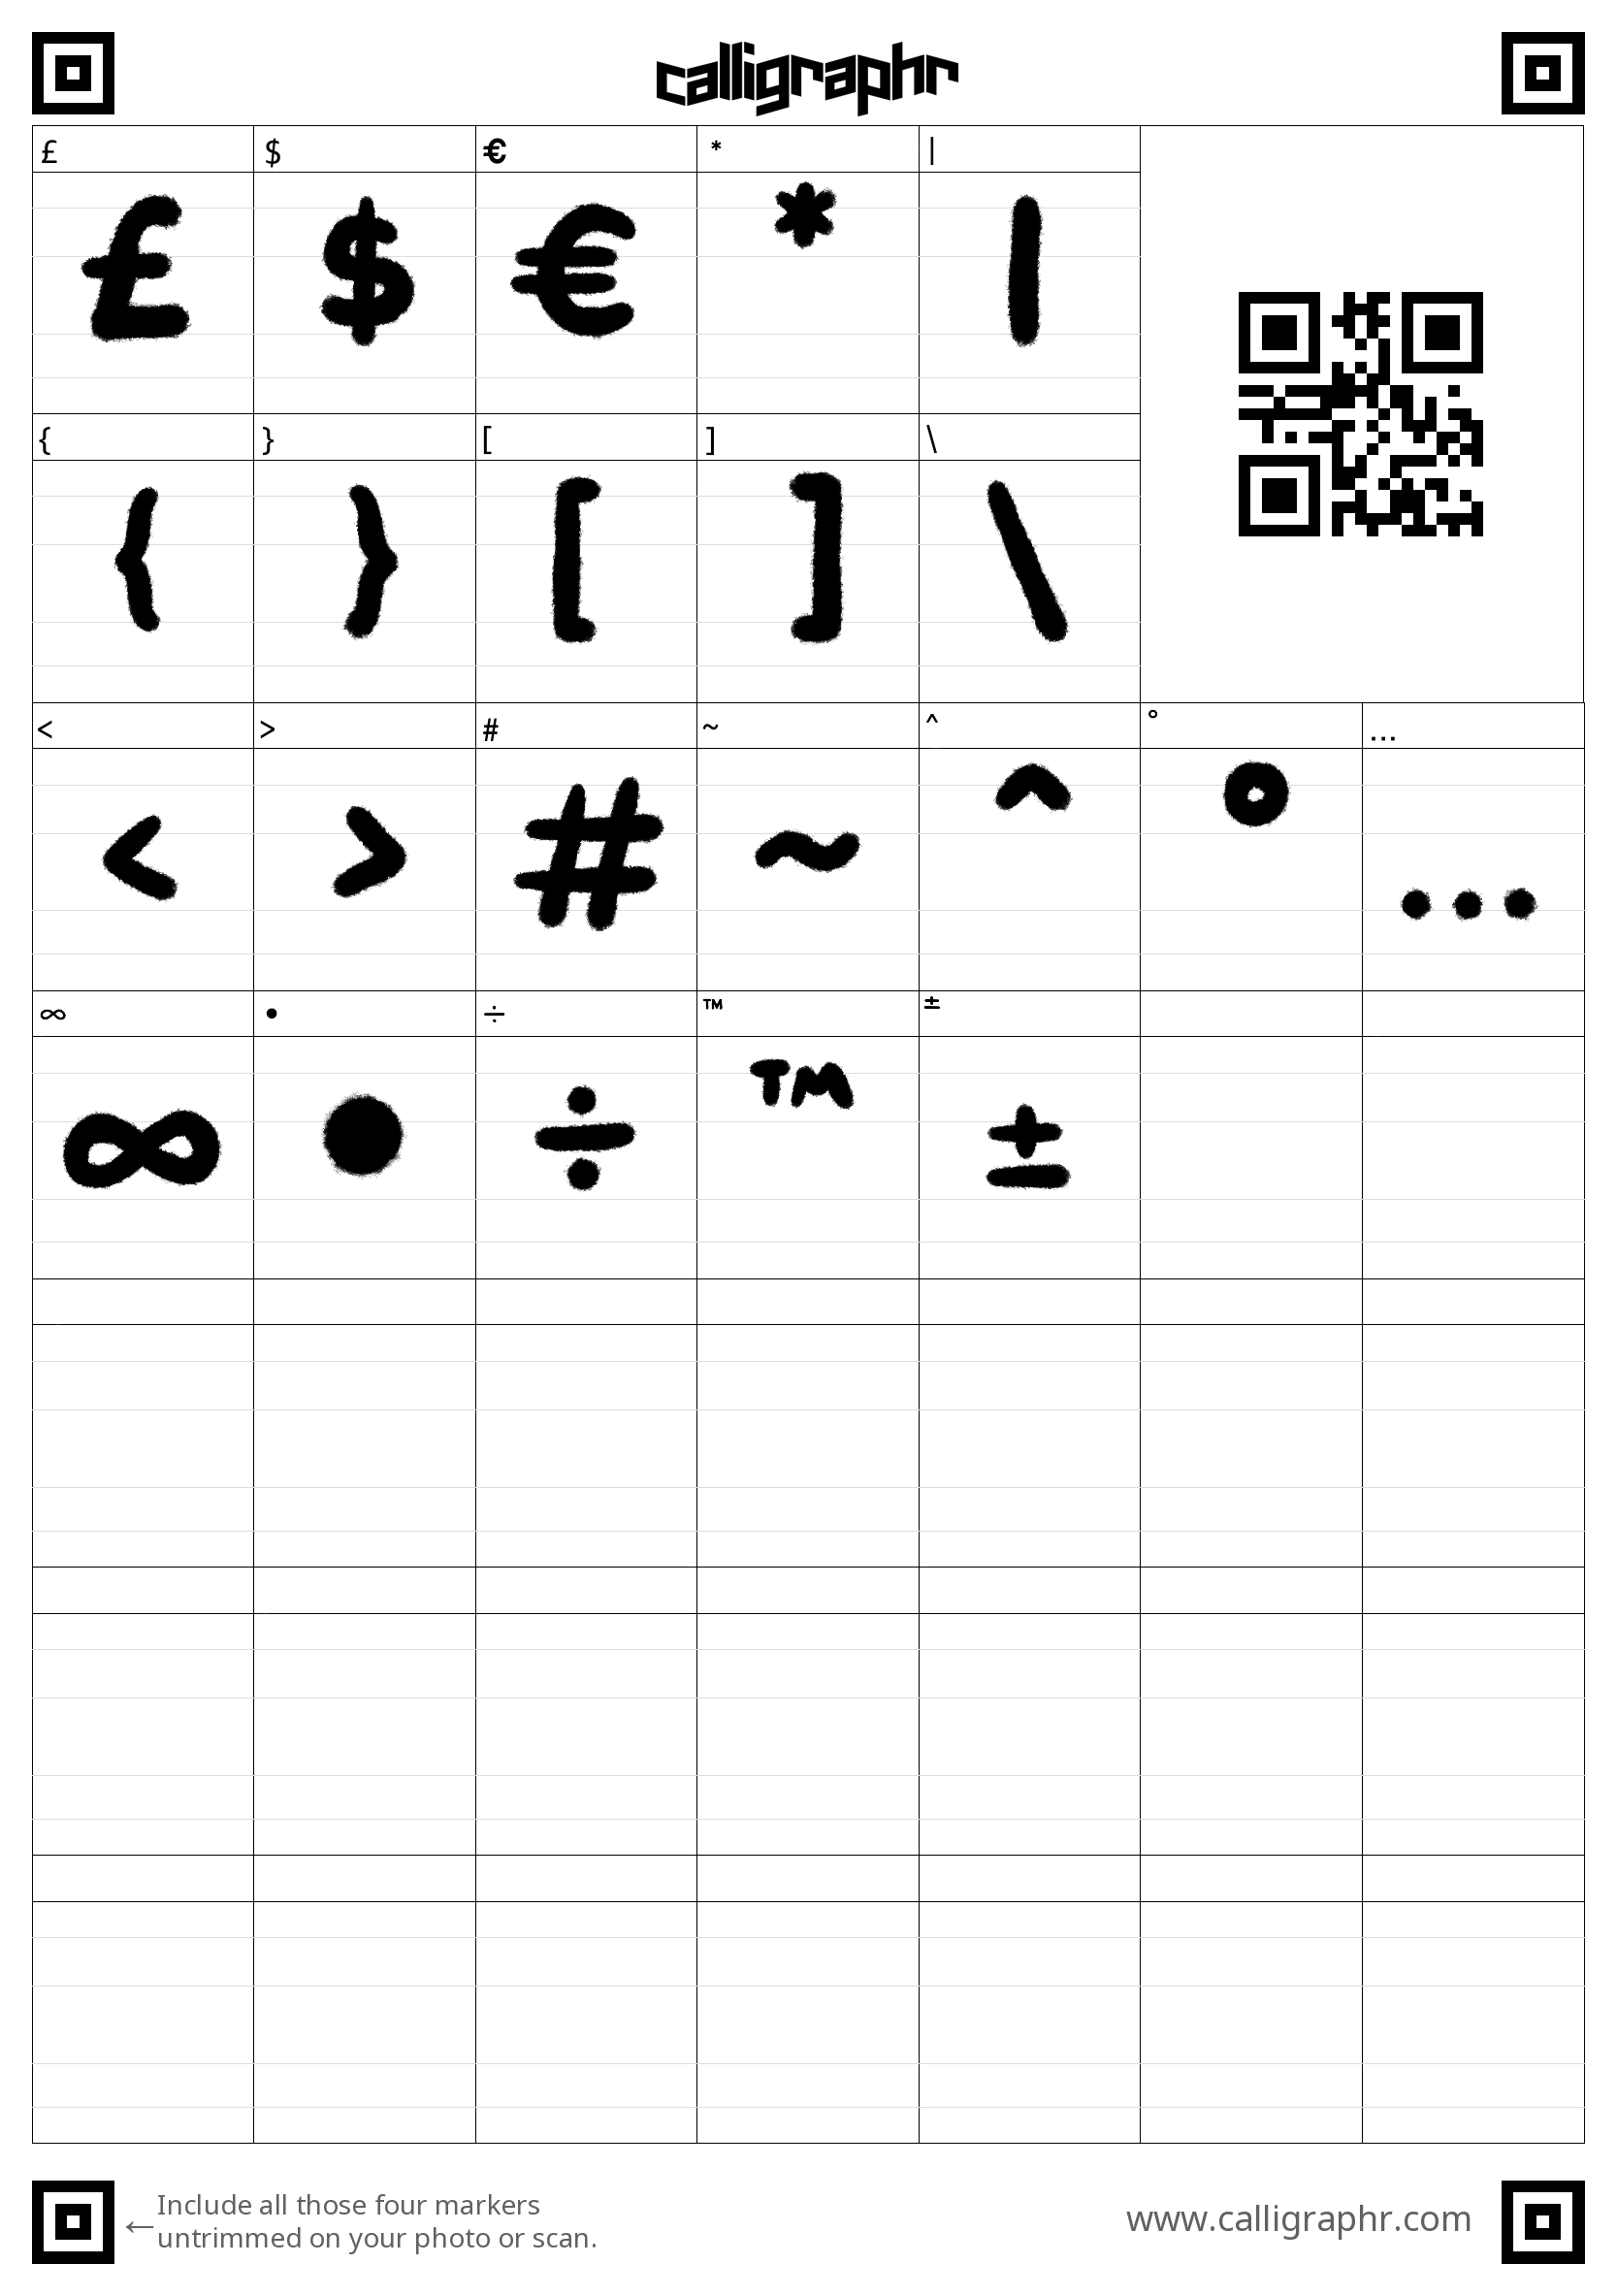
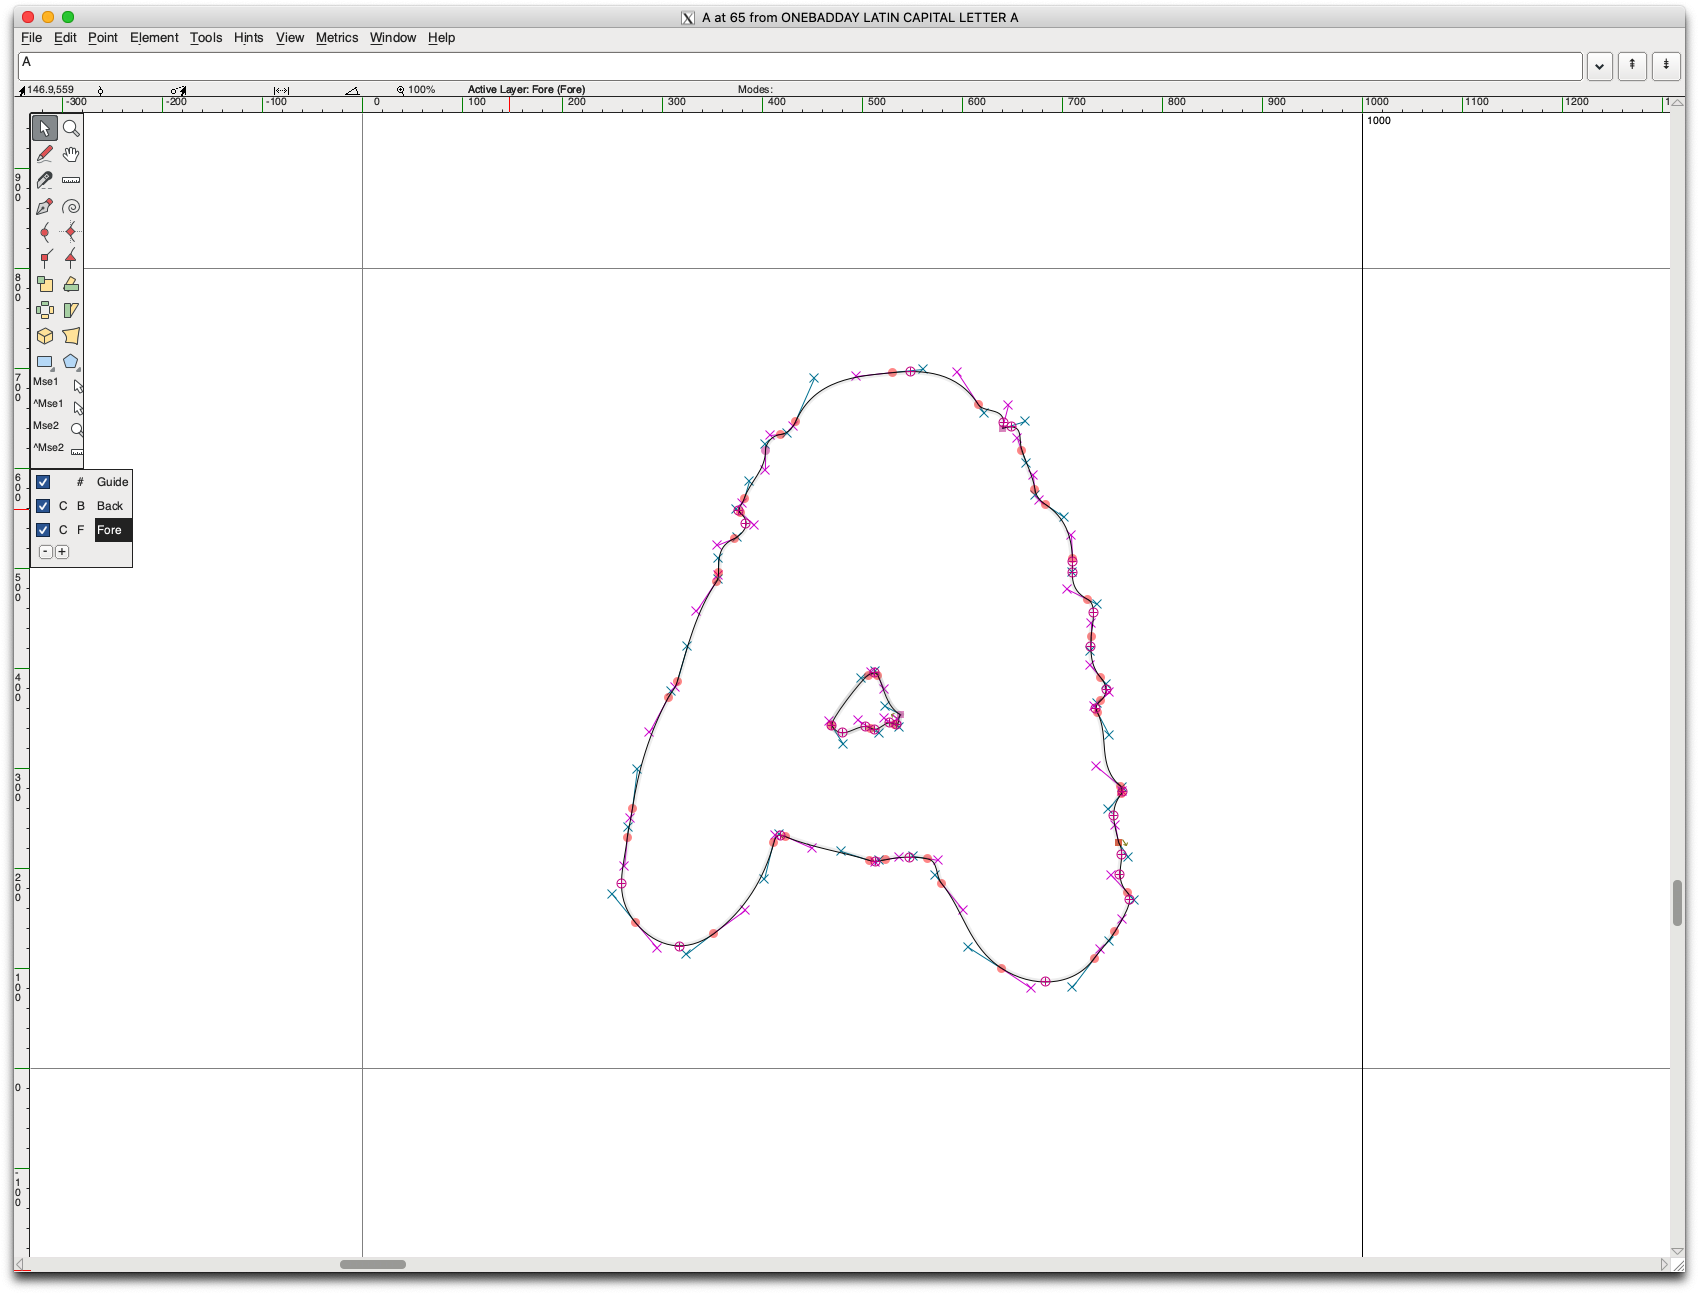
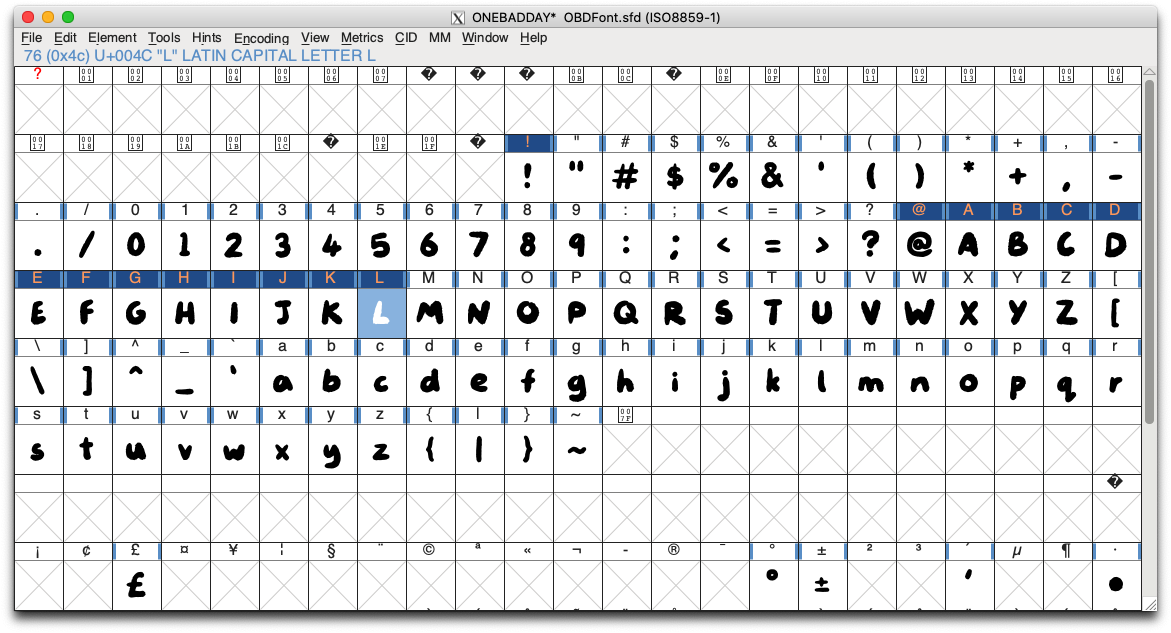
As a method to making my zine more unique, I decided to create my own font in the style of my ONE BAD DAY logo for writing the areas of text. I had created a somewhat decent font before using an online browser-based application called Calligraphr as it was free and intuitive, so my first instinct was to do the same again for my new font.
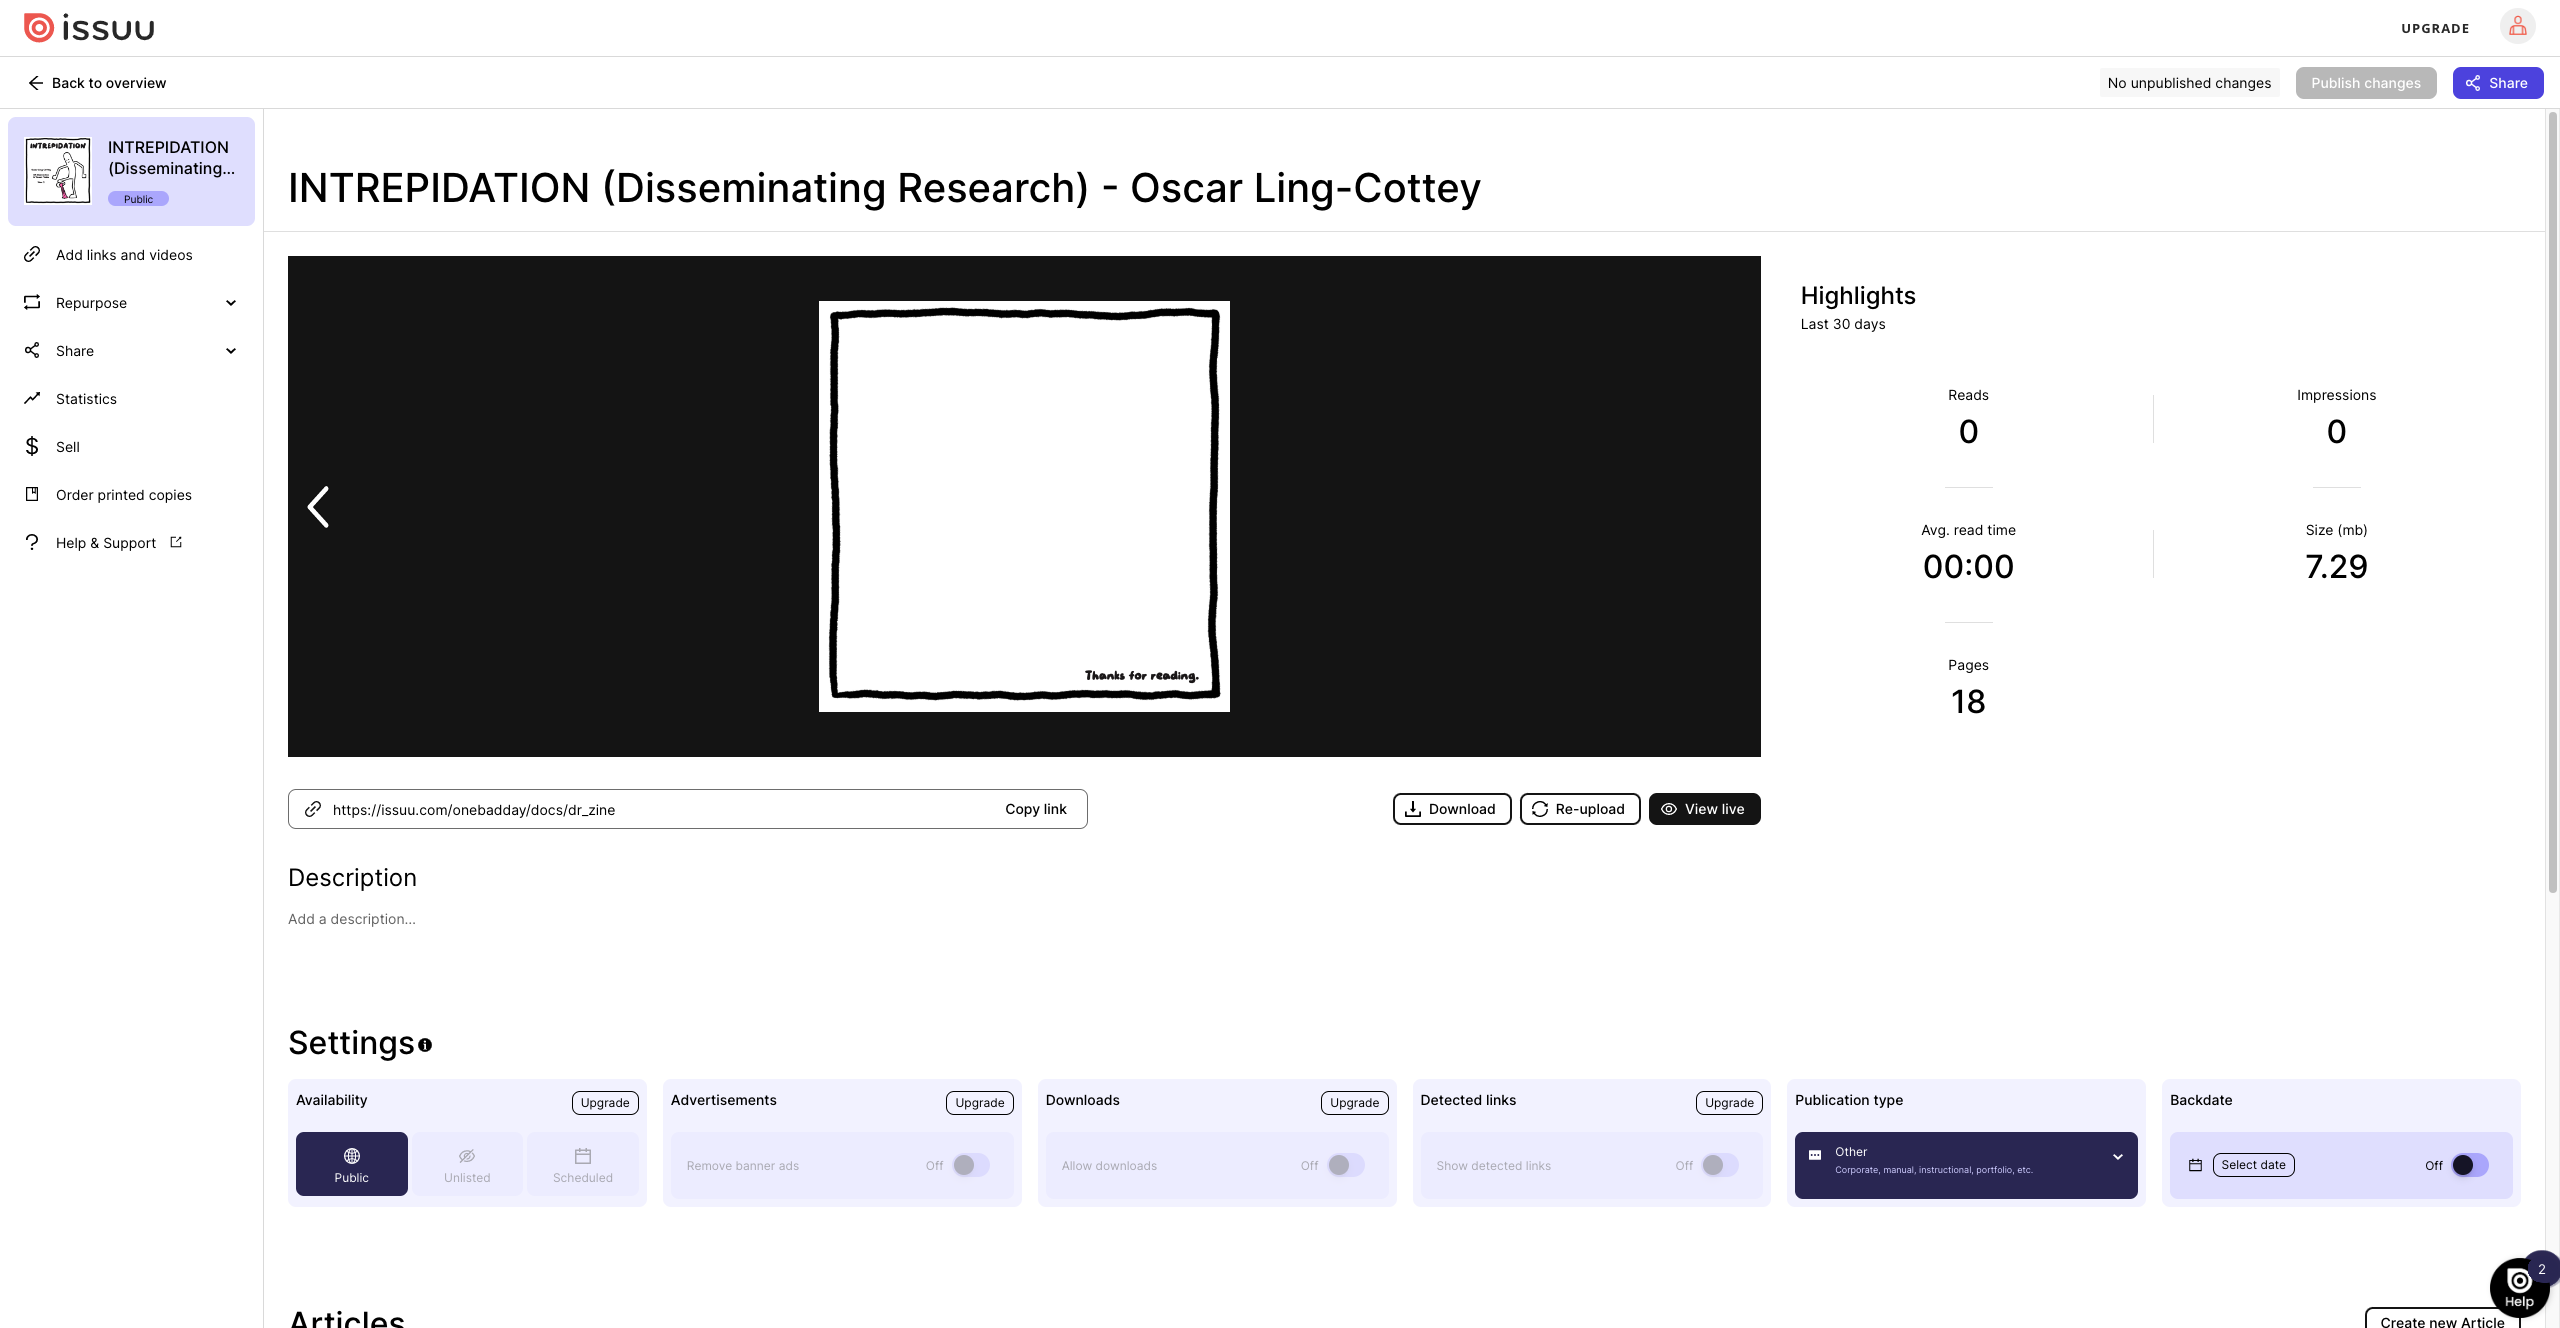
With all the conversations about artificial intelligence circling around, I decided to use it to my advantage, albeit only in a small way. I asked OpenAI’s Chat GPT to find websites where I could publish my zine for free. Instantly, it provided a list of 10 websites, saving time spent having to manually search for the answers in Google myself. From the list I was given, I determined that issuu.com was the best option because, even though it has a paywall in place for several of its editing features, it still offers more for free than any of the other websites.
I moved onto the next stage of development by creating individual body parts that, in theory, would fit together and allow the legs, arms, and head to move. I split the torso and head pieces in half in an attempt to achieve a cleaner 3D print, and so that the interior of the pieces would not fill with solid material.
Based on my personal experience of following Supreme for several years and owning multiple clothing items, I can attest to the exceptional quality of their t-shirts. From the thickness of the materials to the printing craftsmanship, Supreme consistently delivers high standards that I aspire to achieve with my brand, ONE BAD DAY. Supreme’s t-shirt style tends to lean towards an oversized fit, which aligns with my personal preference and the style I aim to replicate with my own t-shirts.
While BE@RBRICK figures may not fall into the category of traditional action figures, I appreciate their ability to showcase diverse artistic interpretations and distinctive character designs. The limitless potential for incorporating various imagery is an aspect that I envision translating well to my brand's mascot. I am inspired by the brand's numerous strengths, such as its well-established brand recognition, extensive collaborations, meticulous attention to detail in design and production, and the committed collector community it has cultivated. These are qualities I aspire to align my own brand with.
In second year of university, I printed onto Fruit of the Loom 'Original T' t-shirts, but the quality wasn't great - the material was thin an slightly transparent.
I wanted to use higher-quality t-shirts for this project.
I found 3 blank t-shirts in my wardrobe one day while I was cleaning my bedroom, which saved me from having to buy new blanks for test printing.